How to Repair Squeaky Floors From Above
A practical DIY guide to finding and fixing squeaky floors from above without opening the ceiling below.
The short answer
Yes, many squeaky floors can be repaired from above by finding the exact movement point and tightening the flooring or subfloor back to solid framing with the right screws. The goal is not just to silence the noise for a day. The goal is to stop the rubbing or flexing that created the squeak in the first place.
When this is a DIY job and when it is not
This is a solid DIY project when the squeak is localized, the floor feels basically firm, and you can work from the finished side without tearing up large sections.
Pause and investigate more if you notice:
- A soft or bouncy floor area
- Water staining, swelling, or rot
- Wide gaps, sagging, or cracked tile nearby
- Multiple squeaks spreading across a large span
- Signs that a joist or beam may be undersized or damaged
A squeak is usually a movement problem, not a major structural failure, but widespread flex is worth taking seriously.
What usually causes a floor to squeak
Most floor squeaks come from one of these conditions:
- The subfloor has loosened from the joist
- Nails have backed out and allow wood to move
- Hardwood boards are rubbing against each other
- A small gap between framing and subfloor allows flex under load
- Seasonal expansion and dryness changed how the floor fits together
If you fix the movement, you usually fix the noise.
Tools and materials at a glance
Use trim-head or flooring screws when you want a cleaner repair from above. They hold better than nails and are less likely to work loose again. If you are working on carpet, repair kits designed for concealed breaks can help, but this guide is mainly aimed at exposed finished flooring or areas where small filled holes are acceptable.
Step 1: Find the exact squeak, not just the rough area
Have one person walk the floor while another listens closely. Mark the noisy spot with painter’s tape. Step on the area from a few angles because the squeak may come from the edge of a board, not dead center where you first hear it.
A precise mark matters because random fasteners can miss the real problem and leave you with more holes but the same squeak.
Step 2: Locate the joist or solid backing below
Use a stud finder if it works through the finished floor, and look for clues like existing fastener lines, floorboard direction, or access from below if you have a basement or crawlspace. The repair works best when you drive into actual structure instead of only catching subfloor material.
If you are unsure where utilities run, slow down here. This is the step that protects you from turning a floor repair into a plumbing or wiring repair.
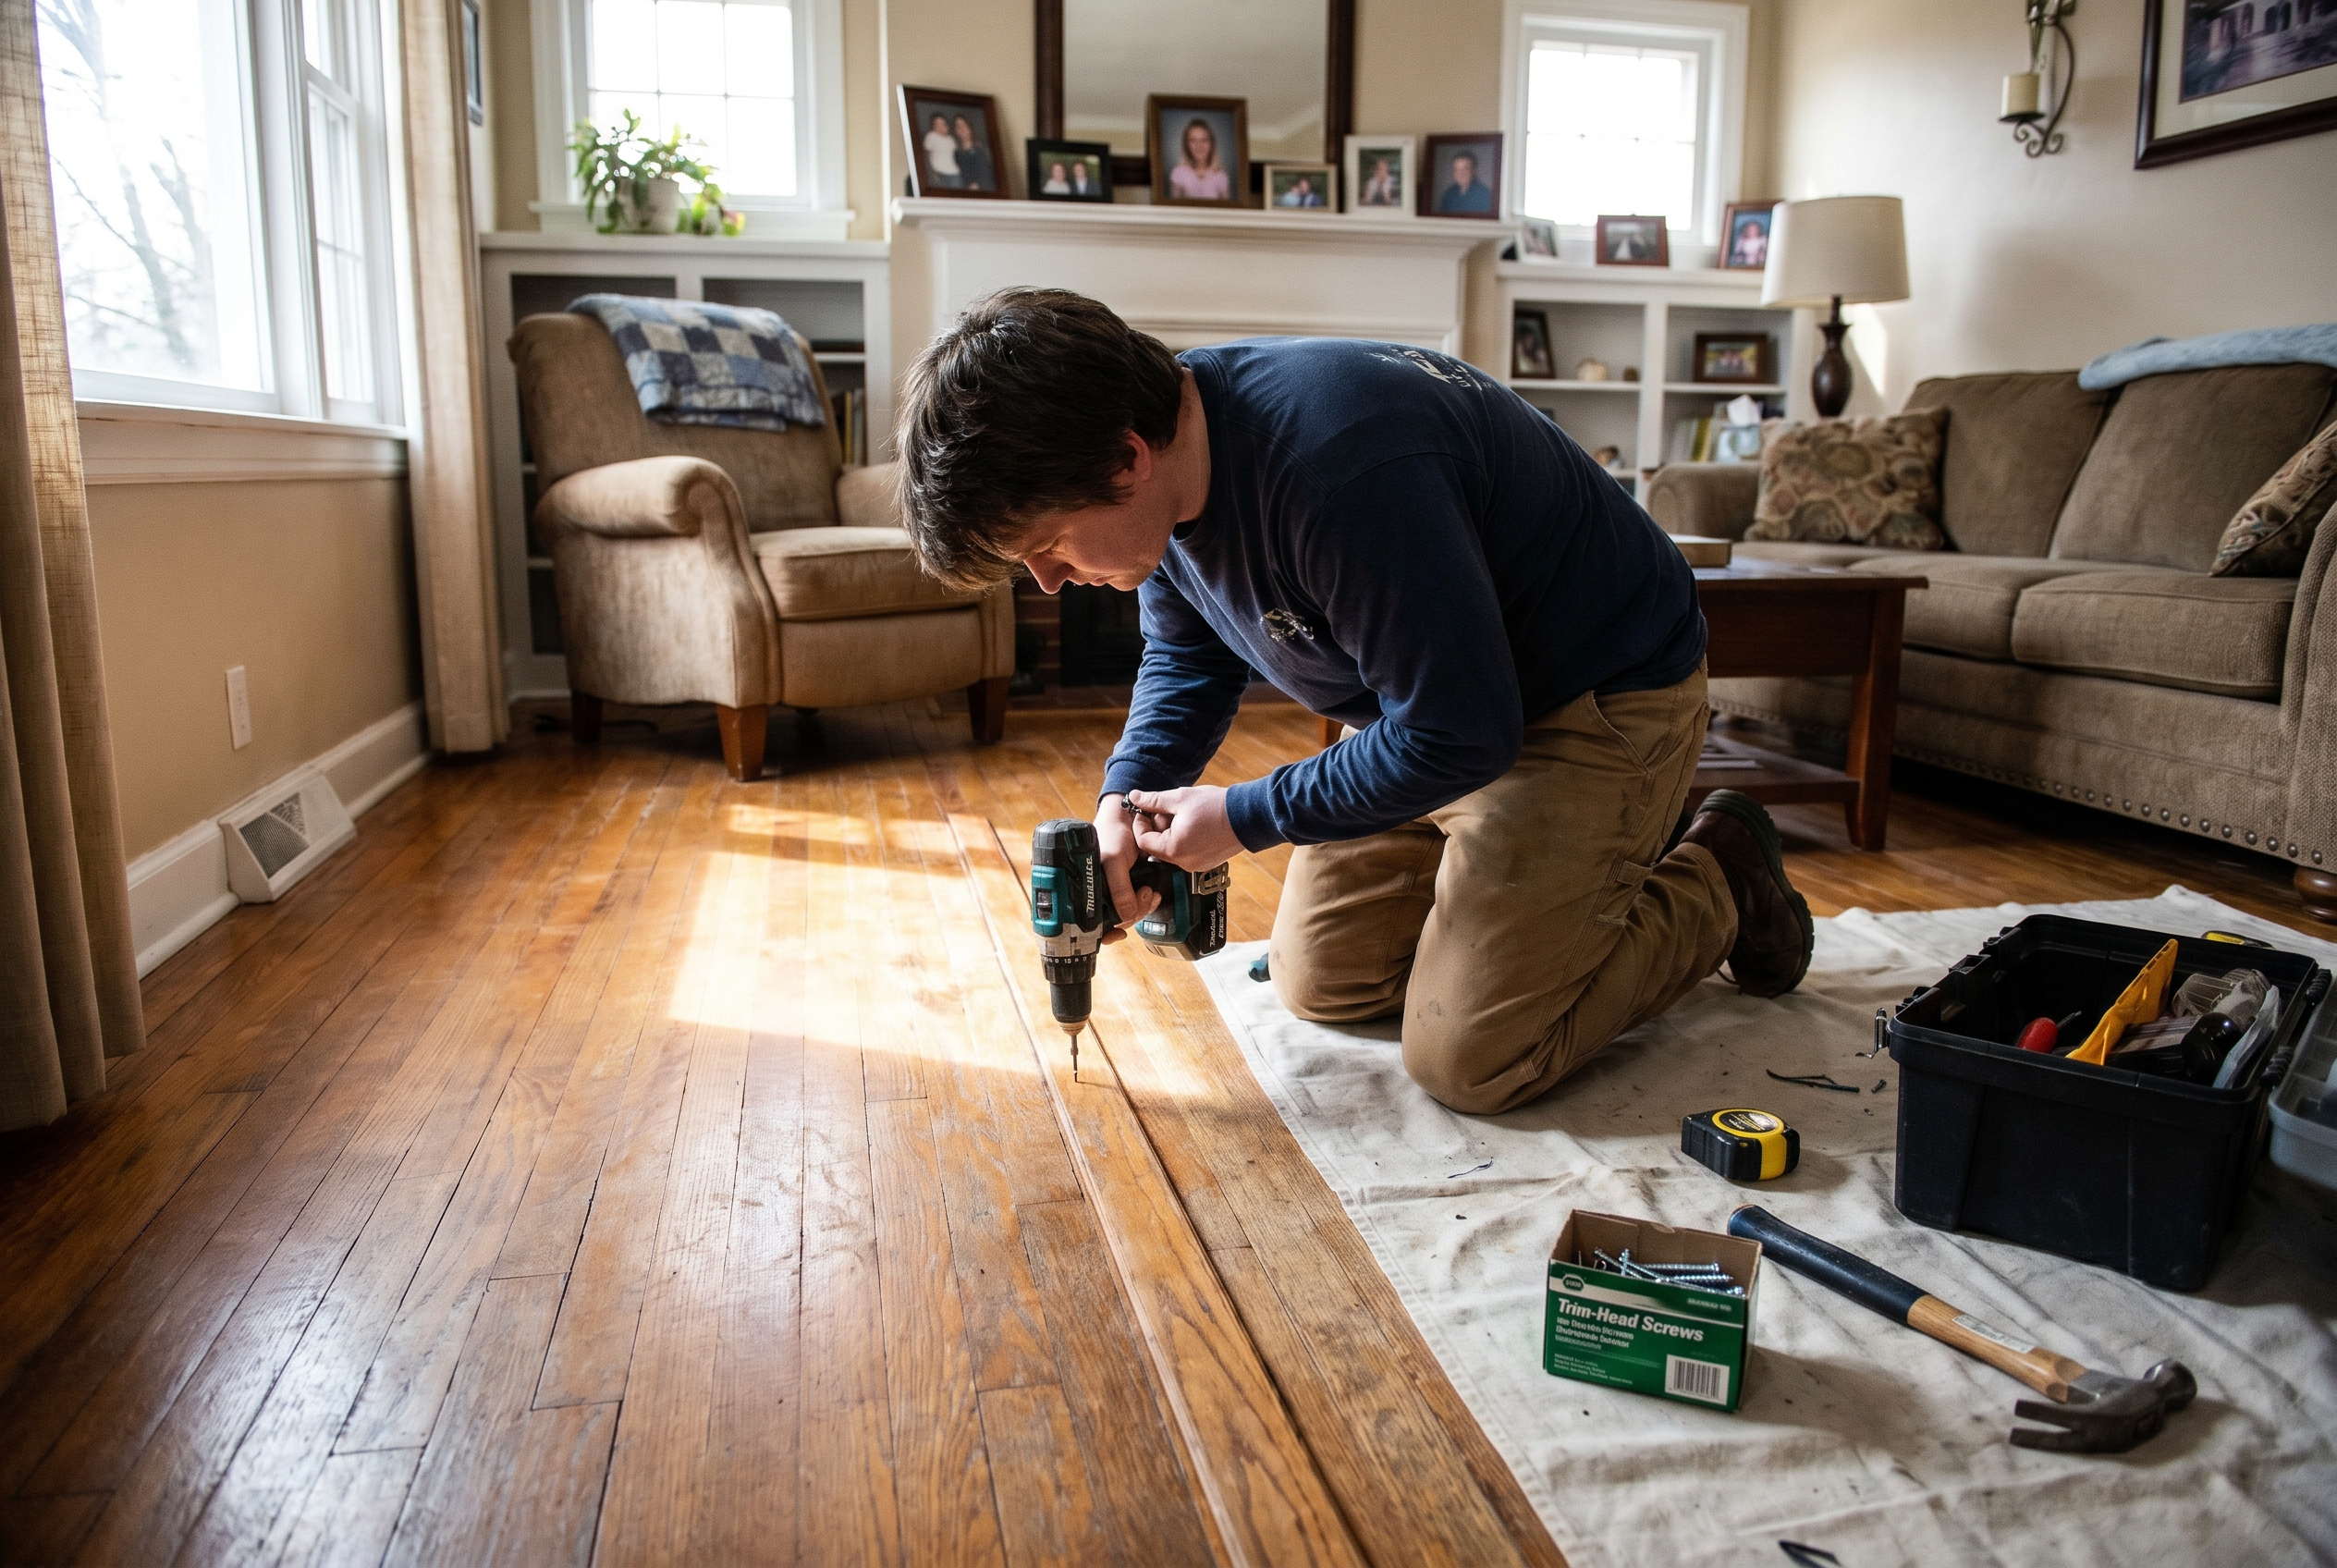
Step 3: Tighten the flooring and subfloor with screws
Pre-drill if needed, then drive a trim-head or flooring screw into the support below. Pull the surface tight, but do not overtighten and strip the connection. In hardwood, keep screws where a filled hole will be least visible, often near a board edge or under an area rug if possible.
For carpeted floors, use a repair system made for breakaway screws rather than standard exposed fasteners.
Step 4: Shim or reduce friction if the squeak is not only a loose fastener
If you can access a visible gap from the side or below, a thin shim or a bead of construction adhesive can help reduce movement. If the squeak is more of a rubbing sound between boards, a dry lubricant such as rosin powder may help in minor cases.
Do not force a thick shim into a tight gap. That can lift the floor and make the problem worse.
Step 5: Fill the hole and retest under load
Fill exposed screw holes with a color-matched putty or filler. Once it sets, clean the area and walk it again. Test with the same body weight and stepping angle that caused the squeak before.
If the noise remains, do not keep shooting screws at random. Re-map the movement and confirm whether the real issue is board friction, missing support, or a broader subfloor problem.
Common mistakes that make floor squeaks come back
Missing the framing below
A screw that does not reach solid support may quiet things temporarily but will not truly stop movement.
Using nails instead of screws
Screws pull materials tight and are far less likely to loosen again.
Overtightening and stripping the connection
Once the screw loses bite, the repair gets weaker.
Ignoring moisture or floor softness
If the wood is damaged, fastening alone may not hold.
DIY vs calling a pro
DIY makes sense for isolated squeaks in otherwise solid flooring.
Consider professional help if:
- the floor is noticeably sagging or bouncy
- the finish floor is high-end hardwood you do not want to risk damaging
- the squeak is under tile or stone
- you suspect framing movement, not just loose subfloor fastening
Internal links you may also want
- Deck Repair Cost Estimator
- How to Patch Drywall Holes the Right Way
- How to Reseal Drafty Windows Without Replacing Them
Frequently asked questions
Can you fix a squeaky floor from above?
Yes. Many squeaks can be fixed from above by locating the exact movement point and fastening the floor or subfloor back to solid support.
What causes floors to squeak?
Most squeaks happen when wood parts move against each other, usually because fasteners loosened, boards rub, or subfloor panels flex against joists.
Should I use nails or screws for a squeaky subfloor?
Screws are usually better because they pull the materials tight and resist backing out.
Can I fix squeaks without removing hardwood flooring?
Often yes, especially when the squeak is localized and a carefully placed screw repair is acceptable.
When is a floor squeak a structural problem?
If the floor is soft, sagging, badly bouncy, or shows water damage, the issue may be larger than a normal squeak repair.