How to Install a Smart Thermostat: Step-by-Step Guide
A practical smart thermostat installation guide for confident DIY homeowners
How to Install a Smart Thermostat: Step-by-Step Guide
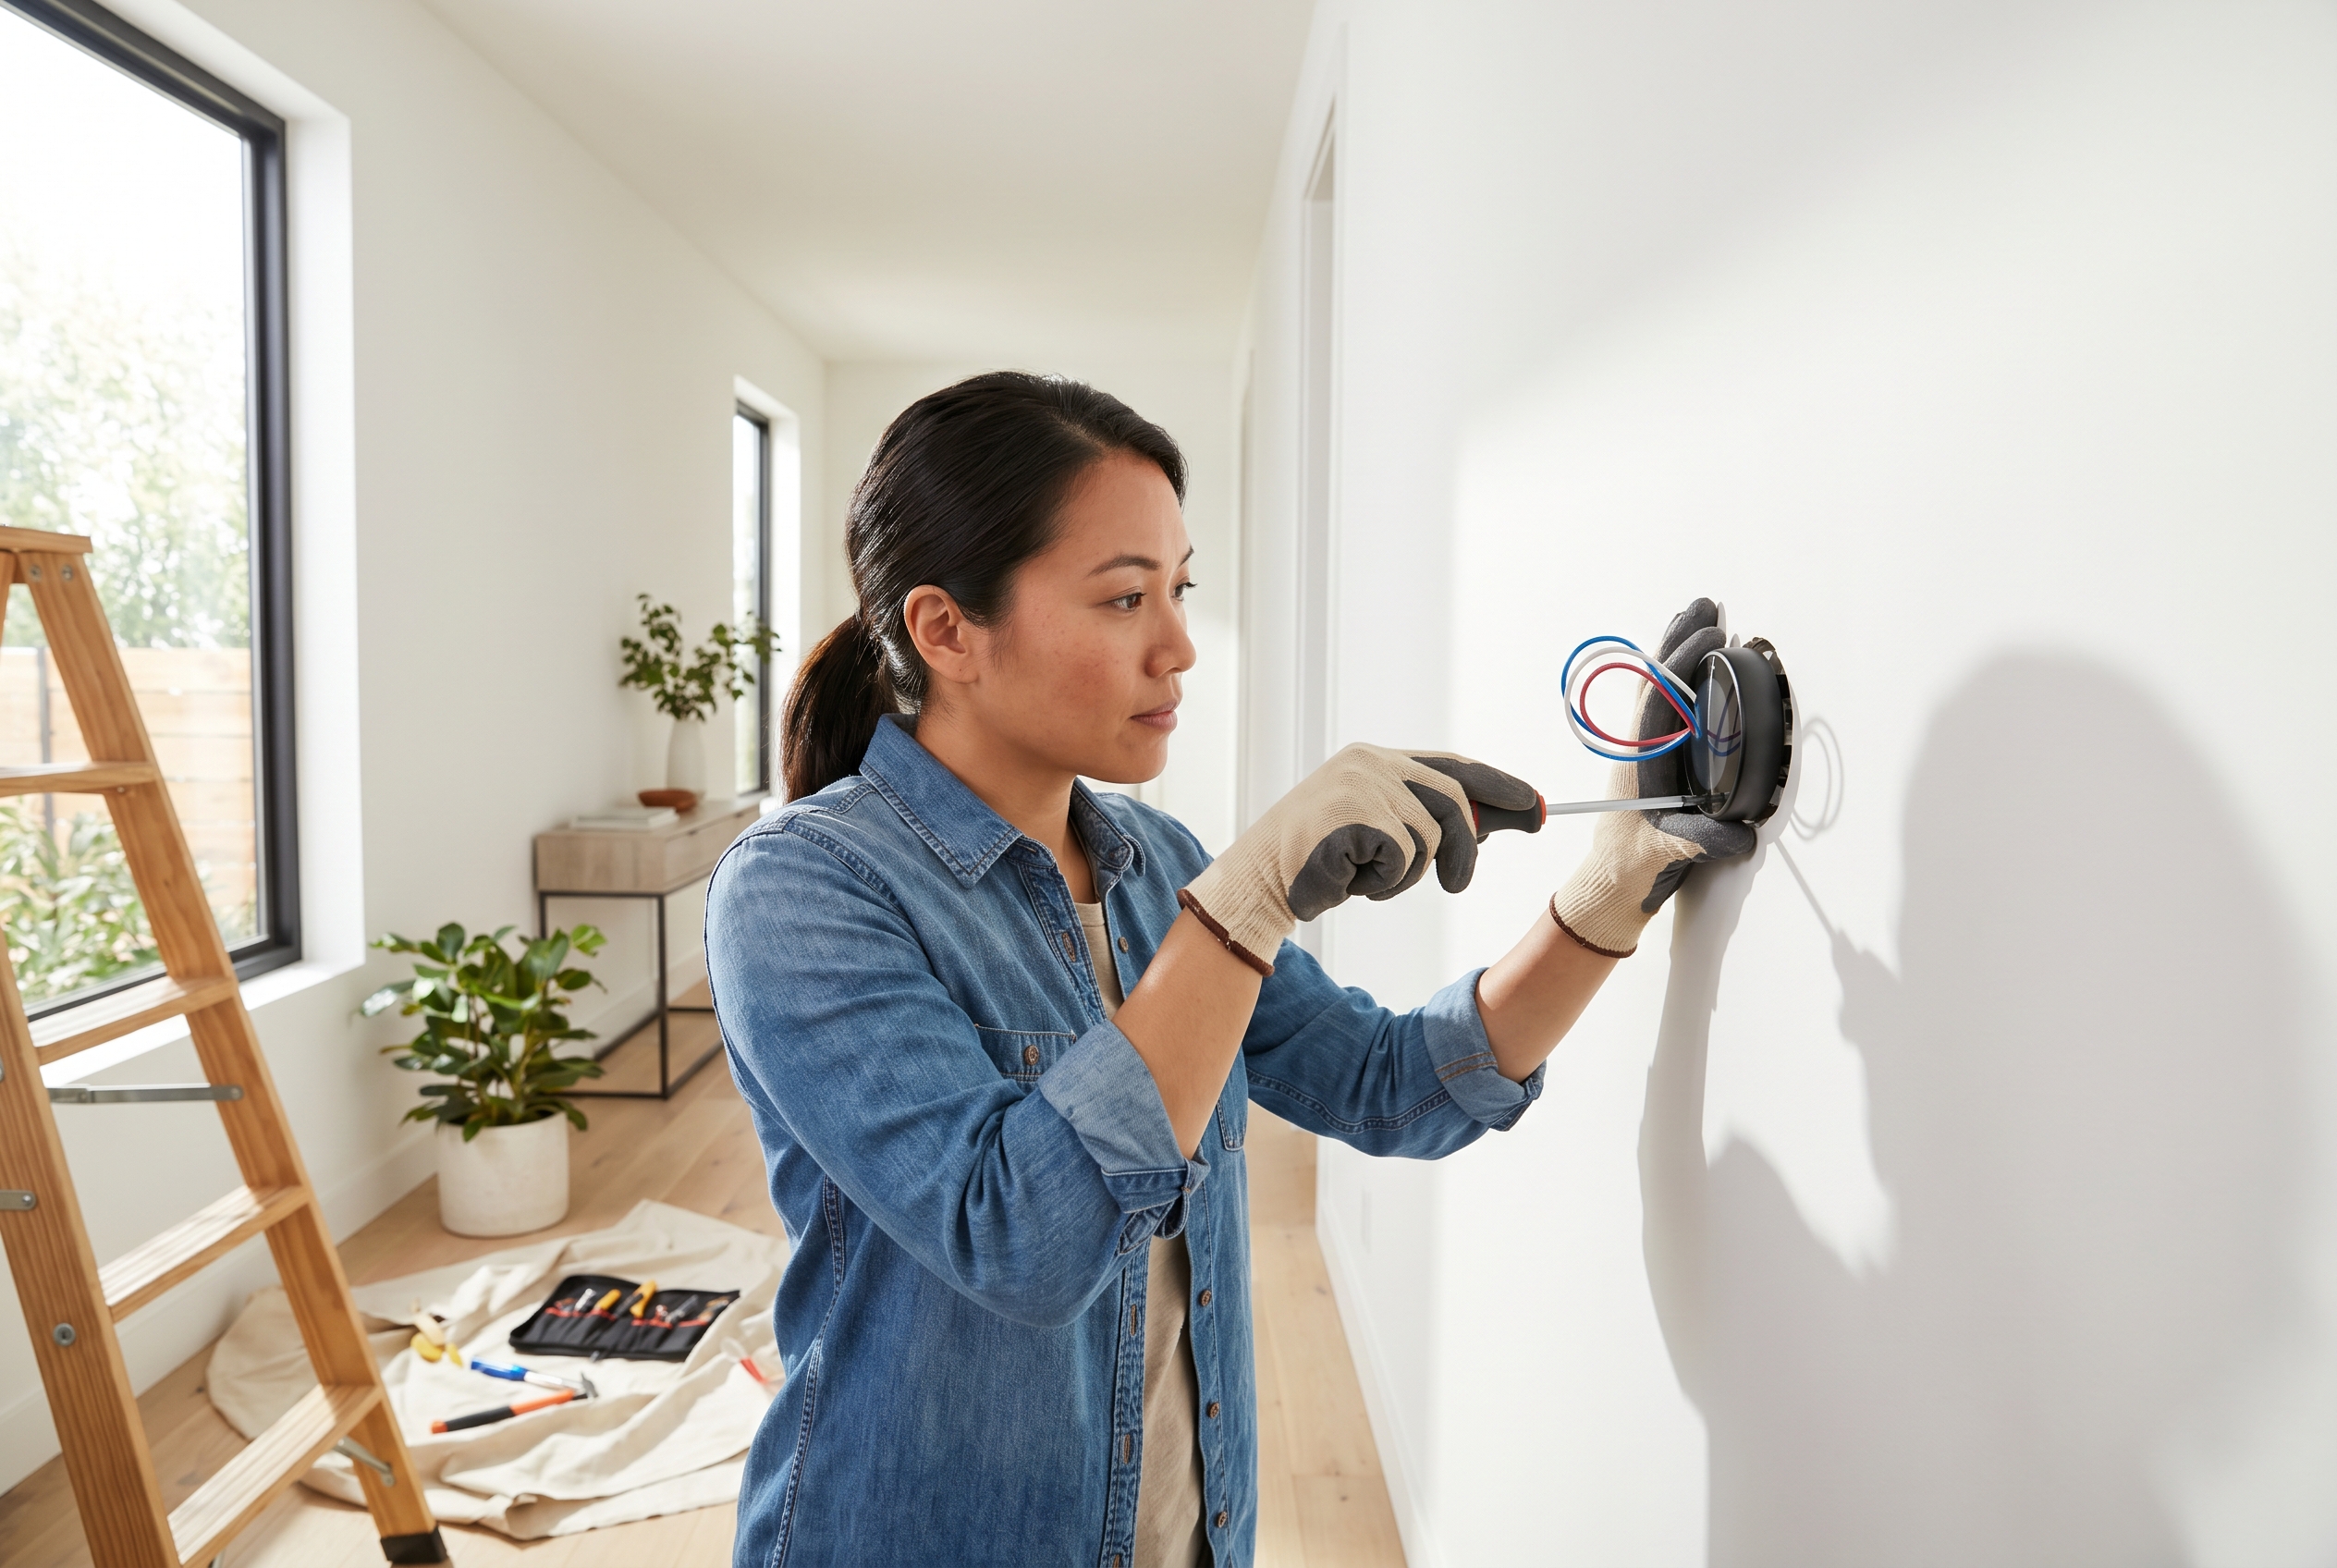
Upgrading to a smart thermostat is one of the simplest ways to make your home more comfortable and more efficient. Most installations are straightforward if your HVAC system is compatible and you take time to label wires carefully. This guide walks through the full process, from checking compatibility to testing heating and cooling after setup.
Before You Start
What a Smart Thermostat Can Do
- Automate schedules to reduce wasted heating and cooling
- Control temperature remotely from your phone
- Track energy use and suggest savings opportunities
- Improve comfort with occupancy sensing and learning modes
Check Compatibility First
Before buying or installing anything, confirm that your HVAC system works with your thermostat model.
Look for:
- 24V low-voltage system common in central HVAC setups
- C wire availability or a manufacturer-approved adapter
- Separate heating and cooling terminals that match the new unit
- Heat pump compatibility if your home uses one
If your current thermostat controls line-voltage baseboard heat, this project is usually not DIY-friendly unless you buy a thermostat designed for that exact system.
Tools and Materials
Tools
- Screwdriver set
- Drill and small bit (optional)
- Needle-nose pliers
- Wire labels or masking tape
- Level
- Smartphone for setup app
Materials
- Smart thermostat and included mounting plate
- Wall anchors and screws
- C-wire adapter kit if needed
- Touch-up spackle or paint for wall marks
Step 1: Shut Off Power
- Turn off HVAC power at the breaker panel.
- Switch off furnace or air handler service power if accessible.
- Verify the thermostat is dead before touching wires.
- Take a photo of the existing wiring for reference.
This is low-voltage wiring, but you still want the system fully off before disconnecting anything.
Step 2: Remove the Old Thermostat
- Pull off the thermostat faceplate carefully.
- Photograph the terminals and wire labels clearly.
- Label each wire based on terminal letters, not wire color.
- Unscrew the old base plate from the wall.
- Keep wires from falling back into the wall by wrapping them around a pencil or taping them temporarily.
Common Terminal Labels
- R/Rc/Rh for power
- W/W1 for heat
- Y/Y1 for cooling
- G for fan
- C for common wire
- O/B for heat pump reversing valve
Step 3: Check for a C Wire
A common wire powers many smart thermostats continuously.
If You Have a C Wire
- Confirm it is connected at both the thermostat and control board.
- Insert it into the C terminal on the new thermostat base.
If You Do Not Have a C Wire
You may still be able to install the thermostat if:
- The thermostat supports power sharing
- A manufacturer C-wire adapter is included
- You are comfortable wiring an adapter at the furnace control board
If the control board wiring does not match the instructions, stop and call an HVAC tech.
Step 4: Install the New Mounting Plate
- Hold the new plate against the wall and level it.
- Pull labeled wires through the center opening.
- Mark anchor holes if existing holes do not line up.
- Drill pilot holes and install anchors if needed.
- Screw the plate in place without overtightening.
If the old thermostat left a paint shadow or oversized hole, use the trim plate that often comes in the box.
Step 5: Connect the Wires
- Match each labeled wire to the correct terminal on the new thermostat.
- Insert only the bare copper section into each connector.
- Tug gently to verify each wire is secure.
- Double-check labels against your photo and manual.
- Cap or tape unused wires if the manufacturer recommends it.
Important Wiring Tip
Do not trust wire colors alone. A blue wire is often a C wire, but not always. Terminal labels are what matter.
Step 6: Attach the Thermostat and Restore Power
- Snap or screw the thermostat body onto the mounted base.
- Restore power at the breaker.
- Wait for the thermostat to boot.
- Follow on-screen prompts for system type and Wi-Fi setup.
- Open the companion app and complete device registration.
Step 7: Test Heating, Cooling, and Fan Modes
Run a full system check before calling the job done.
Test Sequence
- Set the thermostat to cool and lower the temperature a few degrees.
- Confirm the outdoor condenser and blower start after a short delay.
- Set the thermostat to heat and raise the temperature.
- Confirm warm air is delivered once the system engages.
- Test fan-only mode if available.
Red Flags
Stop and troubleshoot if:
- The thermostat will not power on
- Heating and cooling are reversed
- The fan runs constantly
- The system short cycles or throws an error
Step 8: Program Energy-Saving Settings
A smart thermostat saves the most money when you actually configure it.
Set up:
- Home and away schedules
- Sleep temperatures
- Geofencing or occupancy sensing
- Humidity targets if supported
- Filter or maintenance reminders
Cost Breakdown
| Item | Cost Range | Notes |
|---|---|---|
| Smart thermostat | $100-300 | Brand and feature set drive price |
| C-wire adapter | $20-40 | Only if required |
| Basic tools/supplies | $10-30 | If not already owned |
| Total DIY cost | $120-350 | Much less than pro install in many cases |
Common Mistakes to Avoid
- Skipping compatibility checks before purchase
- Labeling wires by color instead of terminal letters
- Forgetting to kill power at the breaker
- Not testing both heating and cooling modes
- Ignoring a missing C wire problem and forcing the install
When to Call a Pro
Bring in an HVAC technician if:
- Your system uses high-voltage wiring
- The furnace control board does not match the thermostat instructions
- You have a multi-stage or dual-fuel system and are unsure of setup
- The system behaves unpredictably after installation
Final Thoughts
Installing a smart thermostat is a satisfying upgrade because the payoff starts immediately. You get better control, more visibility into your HVAC use, and a cleaner-looking wall unit. Move carefully, label everything, and verify compatibility before you begin, and this is a project many homeowners can finish in a single afternoon.
Looking for more practical upgrades? Explore our other tutorials for energy-saving home projects and beginner-friendly weekend builds.