How to Fix Peeling Caulk Around a Bathtub or Shower
A practical beginner guide to re-caulking a tub or shower without making a bigger mess or trapping moisture behind the wall.
The short answer
If caulk is peeling around a bathtub or shower, the fix is to remove the old caulk completely, clean the joint down to a dry residue-free surface, and apply a new bead of bathroom-rated 100% silicone caulk. Do not patch over loose caulk. New caulk only lasts when it bonds directly to clean, dry tile, fiberglass, acrylic, or trim.
When this is a DIY job and when it is not
This is a good beginner repair if the old caulk is simply cracking, shrinking, peeling, or growing surface mildew.
Stop and call a pro if you find:
- Soft drywall or base trim next to the tub or shower
- Loose tile, missing grout, or a wall that moves when pressed
- Dark staining that keeps coming back after cleaning
- A gap large enough that the tub or shower surround appears to have shifted
- Water showing up on the ceiling below or on the other side of the wall
Why bathroom caulk peels in the first place
Most failed caulk jobs come down to one of these problems:
- New caulk was applied over old caulk or soap residue
- The joint was still damp when caulk was installed
- The wrong product was used, usually painter’s caulk instead of bathroom silicone
- The bead was too thin to bridge movement
- The shower was used before the caulk fully cured
If you fix those root causes, the new bead has a much better chance of lasting.
Tools and materials
Tools
- Utility knife or caulk removal tool
- Plastic scraper
- Caulk gun
- Painter’s tape
- Clean rags
Materials
- Bathroom-rated 100% silicone caulk
- Bathroom cleaner or mildew remover
- Isopropyl alcohol
- Paper towels or lint-free cloths
Step-by-step: how to fix peeling caulk around a bathtub or shower
1. Inspect the full joint before cutting anything out
Look around the tub deck, vertical corners, and where the surround meets the tub. You are checking for more than ugly caulk. Press lightly on nearby trim and drywall. If the surface feels soft or spongy, this may be a leak repair, not just a recaulking job.
2. Remove the old caulk all the way down to the surface
Slice along both sides of the bead with a utility knife or use a caulk removal tool. Pull out as much as you can in long strips. Follow up with a plastic scraper so you do not gouge fiberglass, acrylic, or soft tile glaze.
Take your time here. Small leftovers can keep the new bead from bonding evenly.
3. Clean off residue, mildew, and soap film
Wash the joint with bathroom cleaner or a mildew-removal product as needed. Rinse or wipe according to the product instructions. Then wipe the area with isopropyl alcohol to remove final residue.
If you see black staining deep in the joint that will not clean away, that can point to trapped moisture behind the surface. That is a good moment to stop and reassess.
4. Let the joint dry completely
This is the step people rush. Dry the area with cloths, then leave it open to air out. A fan helps. The joint needs to be dry before silicone goes in.
If you are re-caulking around a bathtub, it is smart to fill the tub partway with water before applying the new bead. That puts the tub in a slightly loaded position so the caulk is less likely to pull apart later when the tub flexes under use.
5. Tape the edges if you want a cleaner line
Painter’s tape is optional, but it helps beginners keep the bead neat. Run tape on both sides of the joint, leaving the width of bead you actually want. Keep the gap consistent.
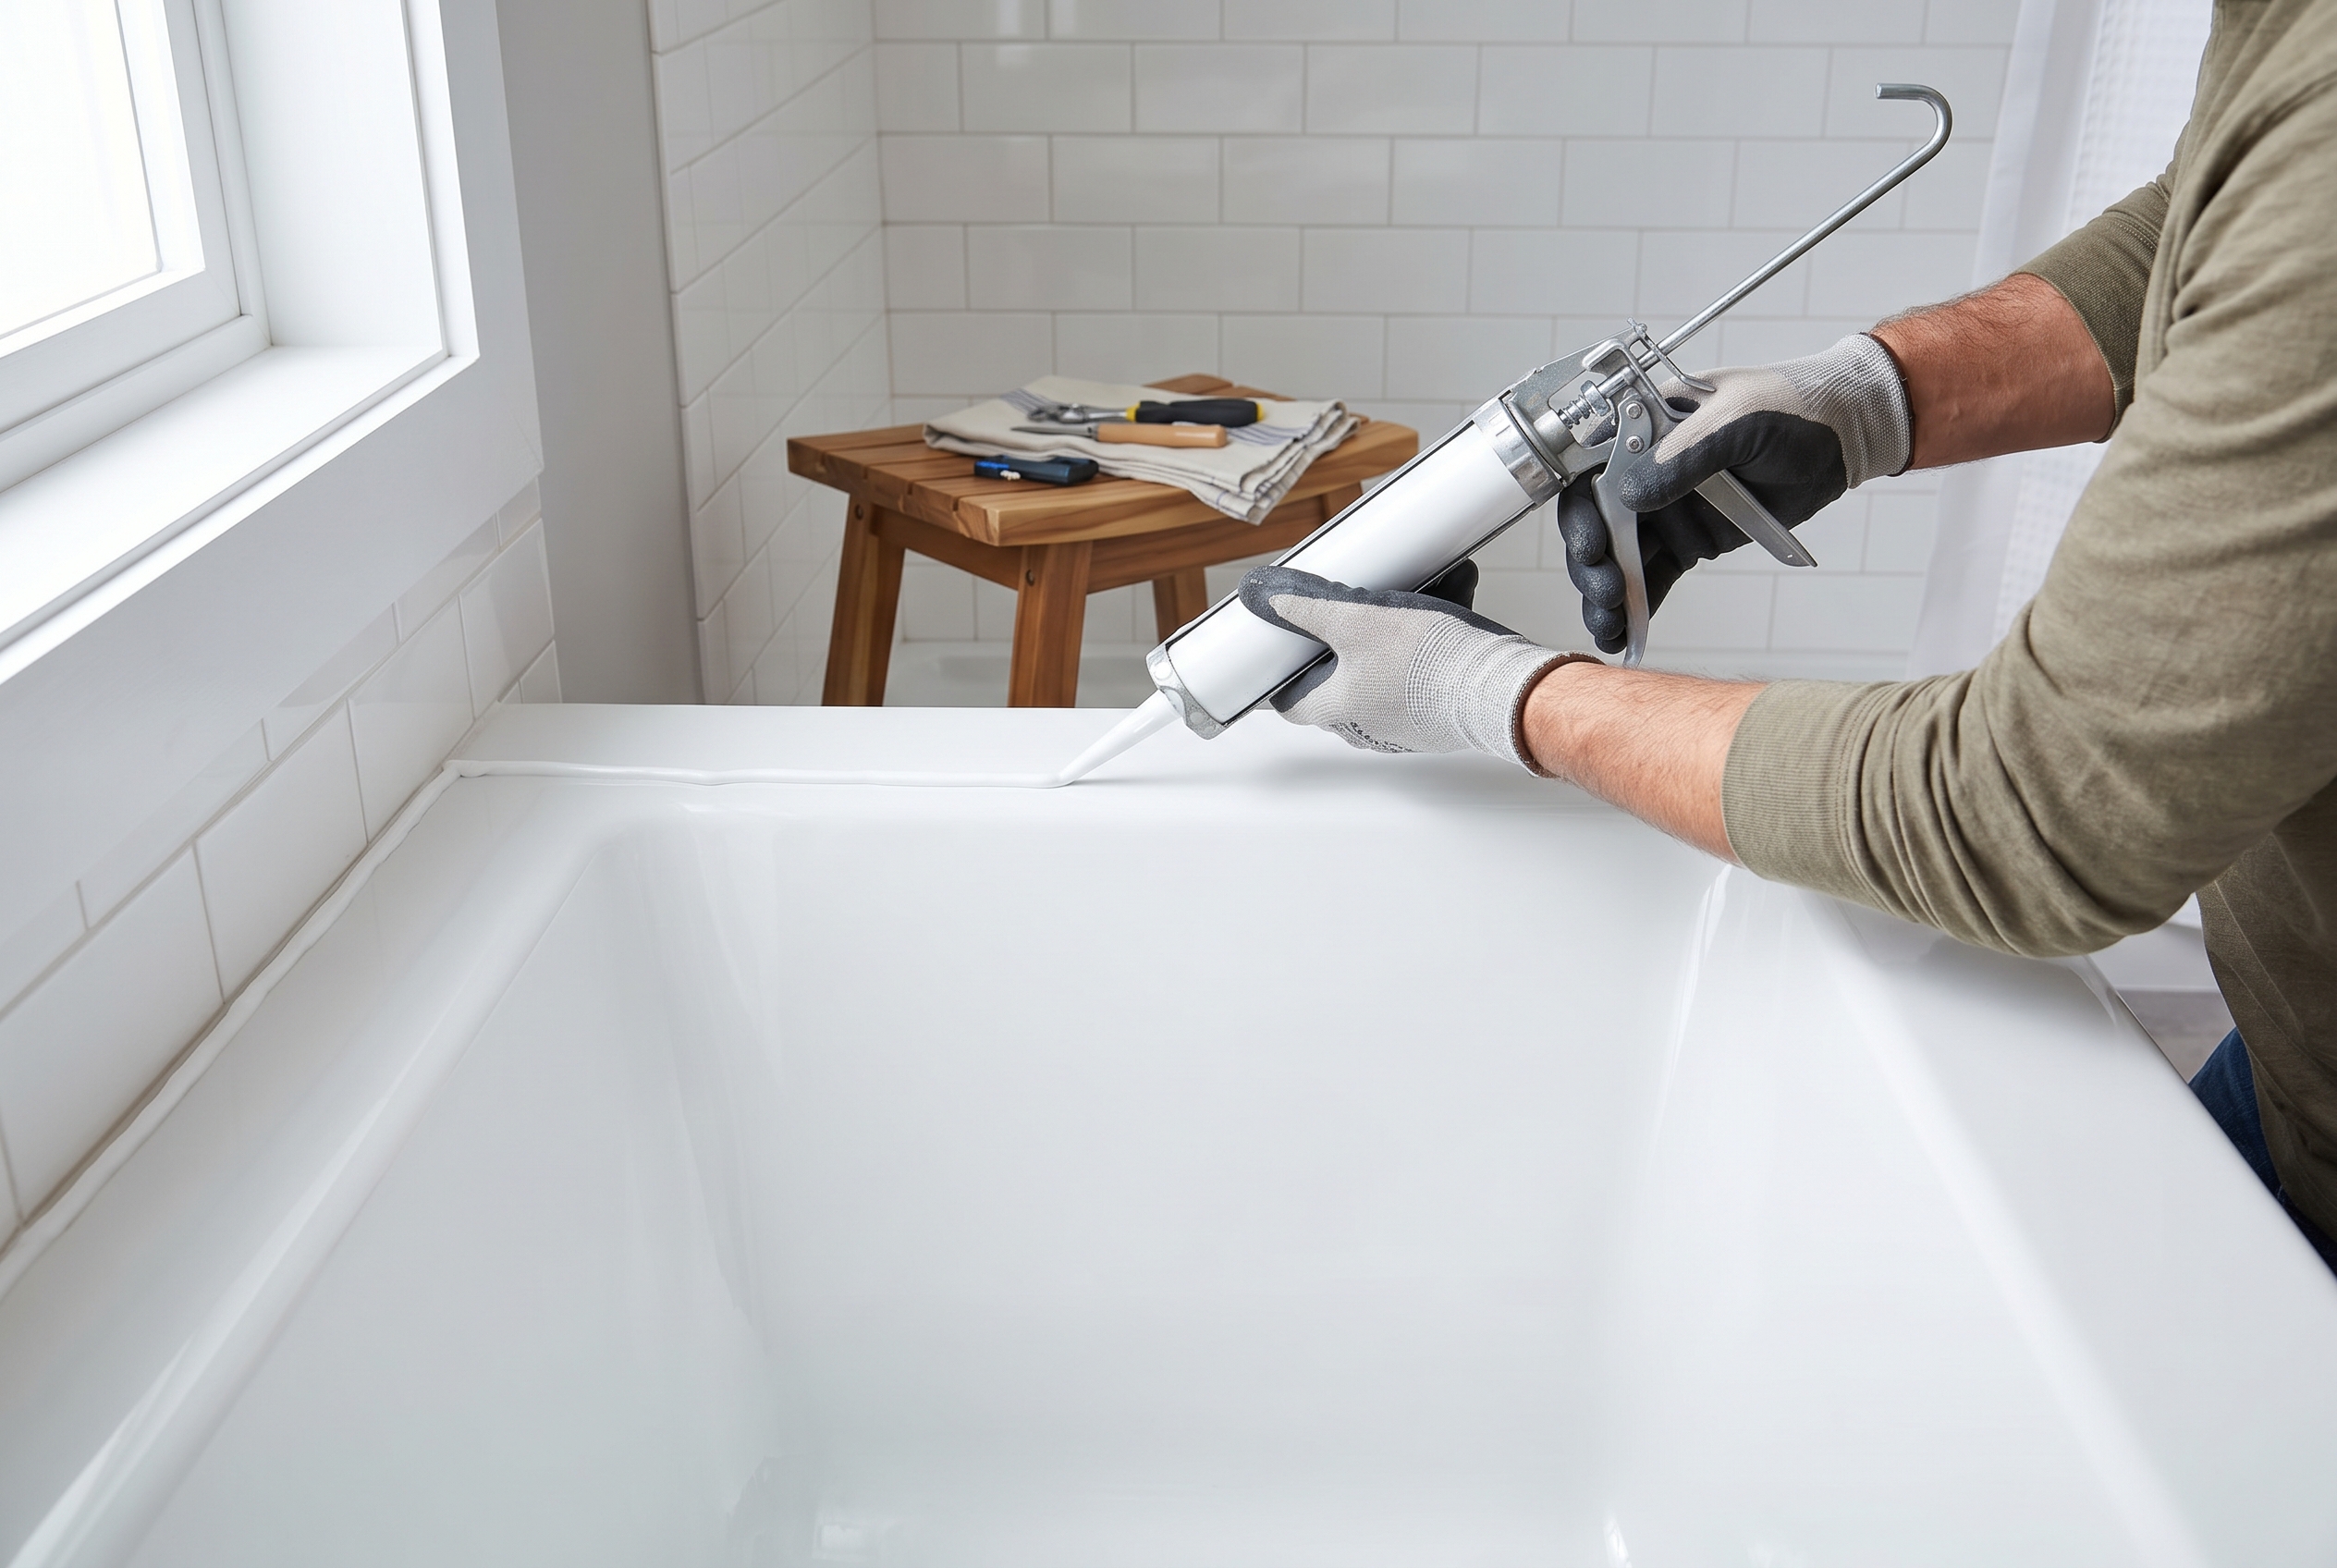
6. Apply a steady bead of 100% silicone
Cut the nozzle small. Start smaller than you think you need. Hold the gun at a consistent angle and move steadily so the bead fills the joint without piling up.
Bathroom silicone is usually the best choice here because it stays flexible and resists moisture better than paintable latex caulk.
7. Tool the bead once, then leave it alone
Smooth the bead with a caulk tool or a gloved finger dampened as recommended by the product instructions. The goal is gentle pressure that pushes the silicone into the joint and leaves a clean concave shape.
Do not keep fussing with it. Reworking silicone too much usually makes it worse.
8. Remove the tape and respect cure time
Pull painter’s tape off right away, before the caulk skins over. Then leave the area alone for the full cure time listed on the tube. Some products are water-ready sooner than others, but full cure still matters.
Common mistakes that make a recaulking job fail early
- Caulking over old material
- Skipping the cleaning step
- Trapping moisture in the joint
- Using a paintable interior caulk instead of bathroom silicone
- Making the bead too small to handle movement
- Using the shower too soon
How to keep new caulk looking good longer
Wipe down wet corners after showers when possible, run the bath fan, and address mildew early before it stains the bead permanently. If the bathroom stays humid for long stretches, improving ventilation helps almost as much as choosing a better caulk.
Internal links to related repair help
- If you are comparing products, see Best Caulk for Bathrooms, Windows, and Exterior Trim.
- If you are trying to decide whether to DIY or hire out, check the Bathroom Re-Caulking Cost Estimator.
- If the caulk failure started after moisture problems, read Signs a Small Water Leak Is Turning Into Wall Damage.
- If the problem extends beyond the wet area, the next step may be How to Patch Drywall Holes the Right Way.
Frequently asked questions
Should I remove all old caulk before applying new caulk?
Yes. New caulk bonds best to clean, solid surfaces, not to loose or contaminated old caulk. Partial patching usually fails fast.
What type of caulk should I use around a bathtub or shower?
For most tub and shower joints, use a bathroom-rated 100% silicone caulk with mildew resistance. It handles moisture and movement better than basic latex caulk.
Why does shower caulk keep peeling?
The usual causes are poor surface prep, leftover soap residue, moisture trapped in the joint, the wrong caulk type, or movement in the tub or surround.
How long should caulk dry before using the shower?
Follow the product label exactly. Many bathroom silicones need at least 24 hours before water exposure, and some need longer for full cure.
Can I caulk over moldy or wet joints?
No. Clean the joint thoroughly and let it dry first. If mold keeps returning or the material behind the joint is soft, you may have a deeper moisture problem.
When should I call a pro instead of re-caulking myself?
Call a pro if you see rotten trim, soft drywall, loose tile, recurring stains, structural movement, or evidence that water has already spread behind the finished surface.