How to Build a Raised Garden Bed: Step-by-Step Guide
A simple raised garden bed build for beginners with practical sizing, material, and soil tips
How to Build a Raised Garden Bed: Step-by-Step Guide
A raised garden bed gives you better soil control, cleaner planting rows, fewer weeds, and a more comfortable working height. It is also one of the best beginner DIY projects because the structure is simple, the tool list is short, and the result is genuinely useful right away. This guide covers a classic rectangular bed sized for easy access and strong growing results.
Plan the Bed Before You Buy Materials
Ideal Beginner Dimensions
A good first raised bed is:
- 4 feet wide so you can reach the center from either side
- 8 feet long for strong planting capacity without feeling oversized
- 10 to 16 inches tall depending on root depth and budget
Best Location
Pick a spot with:
- 6 to 8 hours of sun for vegetables
- Level ground or close to it
- Good drainage
- Convenient hose access
Materials and Tools
Materials
- Two 2x10x8 cedar boards
- Two 2x10x4 cedar boards, or one additional 8-foot board cut in half
- 3 inch exterior screws
- Hardware cloth if gophers or burrowing pests are a problem
- Weed barrier cardboard, optional
- Quality raised bed soil mix and compost
Tools
- Circular saw or miter saw if cutting boards yourself
- Drill/driver
- Tape measure
- Carpenter’s square
- Level
- Shovel and rake
- Work gloves and safety glasses
Why Cedar Is Popular
Cedar costs more than pine, but it resists rot naturally and tends to hold up longer in wet soil. Avoid pressure-treated lumber for food beds if you do not want to think about chemical exposure at all.
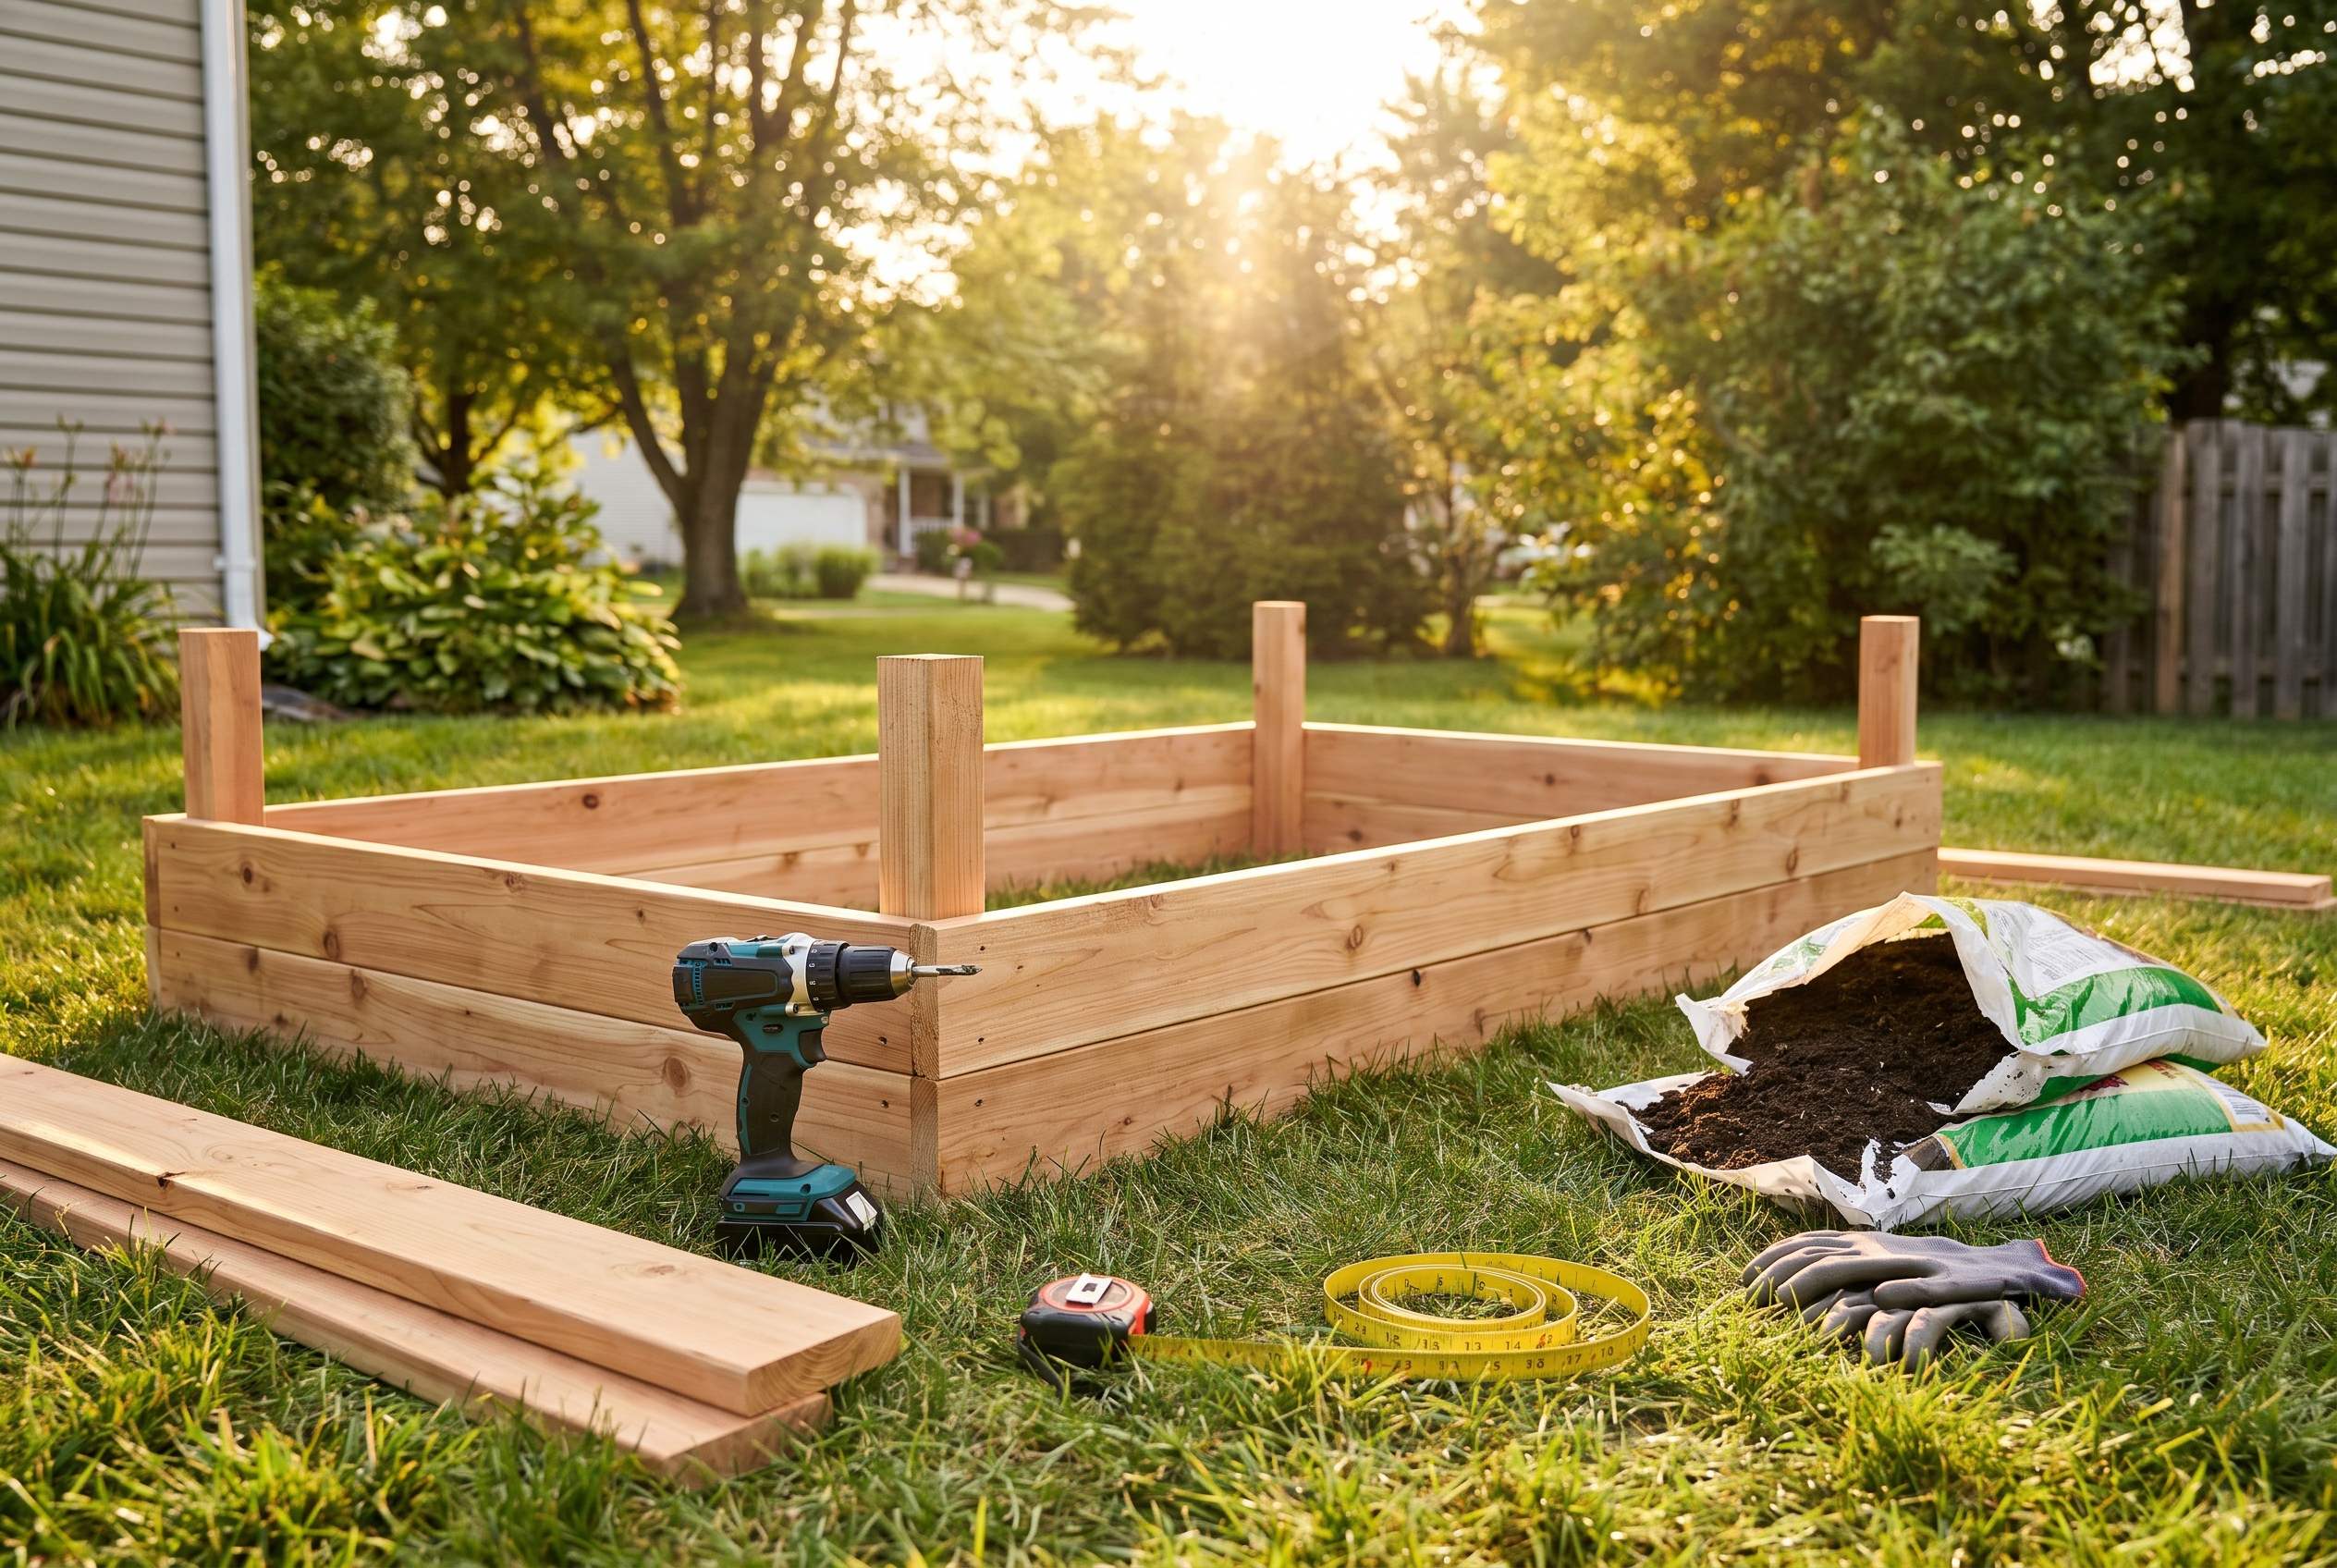
Step 1: Mark the Layout
- Measure a 4x8 footprint in your yard.
- Use stakes or spray paint to mark the corners.
- Check for square by measuring diagonally corner to corner.
- Remove sod or weeds from the build area.
- Rake the surface flat so the frame sits evenly.
Step 2: Cut and Pre-Drill the Boards
If your lumber is not already cut:
- Leave two boards at 8 feet
- Cut one 8-foot board into two 4-foot pieces
Then:
- Pre-drill screw holes near each board end.
- Keep screws at least 3/4 inch from edges to reduce splitting.
- Stack boards neatly nearby so assembly is easy.
Step 3: Assemble the Frame
- Lay out the boards in a rectangle on flat ground.
- Place the short boards inside or between the long boards, depending on your preferred layout.
- Use a square at each corner.
- Drive exterior screws into each corner, usually three per connection.
- Recheck for square after fastening.
Optional Reinforcement
For longer-lasting beds, add:
- Corner brackets inside the frame
- A center brace across the middle for long beds
- 2x2 stakes inside each corner for extra rigidity
Step 4: Set the Bed in Place
- Carry the finished frame to the prepared site.
- Set it on the cleared ground.
- Check level front to back and side to side.
- Dig out high spots or shim low spots with compacted soil.
- Make sure all four edges sit solidly on the ground.
A little unevenness is fine, but big gaps let soil wash out and make the bed look sloppy.
Step 5: Add Pest and Weed Protection
This step is optional, but often worth it.
For Burrowing Pests
- Cut hardware cloth to fit the footprint.
- Lay it under the bed before filling.
- Secure edges so it stays flat.
For Weeds or Grass
- Flatten cardboard boxes and remove heavy tape.
- Lay cardboard over the ground inside the bed.
- Overlap seams to block regrowth.
- Wet it lightly so it stays put.
Step 6: Fill with the Right Soil Mix
Do not fill a raised bed with plain topsoil alone. It compacts too much.
Good Raised Bed Mix
Aim for a blend like:
- 50 to 60% raised bed soil or topsoil blend
- 30 to 40% compost
- 10 to 20% aeration material such as coarse sand or fine bark fines if needed
- Pour soil in evenly across the bed.
- Break up large clumps with a rake.
- Water lightly to settle the mix.
- Top off low spots after settling.
Step 7: Plant and Mulch
Once the bed is filled:
- Plan spacing based on mature plant size.
- Group crops with similar water needs.
- Water transplants in thoroughly.
- Add mulch like straw or shredded leaves to hold moisture.
Great starter crops include lettuce, basil, peppers, tomatoes, green beans, and radishes.
Cost Breakdown
| Item | Cost Range | Notes |
|---|---|---|
| Cedar lumber | $70-150 | Varies by region and board height |
| Screws and hardware | $10-25 | Exterior-rated only |
| Hardware cloth/cardboard | $0-30 | Cardboard is often free |
| Soil and compost | $20-45 | Depends on bed depth |
| Total DIY cost | $100-250 | A strong weekend project budget |
Common Mistakes to Avoid
- Making the bed too wide to reach the middle easily
- Using untreated cheap lumber that rots quickly
- Skipping level checks before filling with soil
- Underbuying soil for deeper beds
- Placing the bed in too much shade
When to Upgrade the Design
Consider a more advanced build if you want:
- Taller beds for easier bending and kneeling
- Built-in irrigation
- Decorative cap rails for sitting or tool resting
- Multiple connected beds with gravel paths
Final Thoughts
A raised garden bed is one of those projects that keeps paying you back. You build it once, then enjoy better harvests, easier maintenance, and a backyard that looks more intentional. Keep the dimensions simple, use rot-resistant materials, and spend a little extra effort on good soil. That is where the real results come from.
Want more outdoor DIY ideas? Browse our backyard and weekend project tutorials for practical builds you can finish without a contractor.