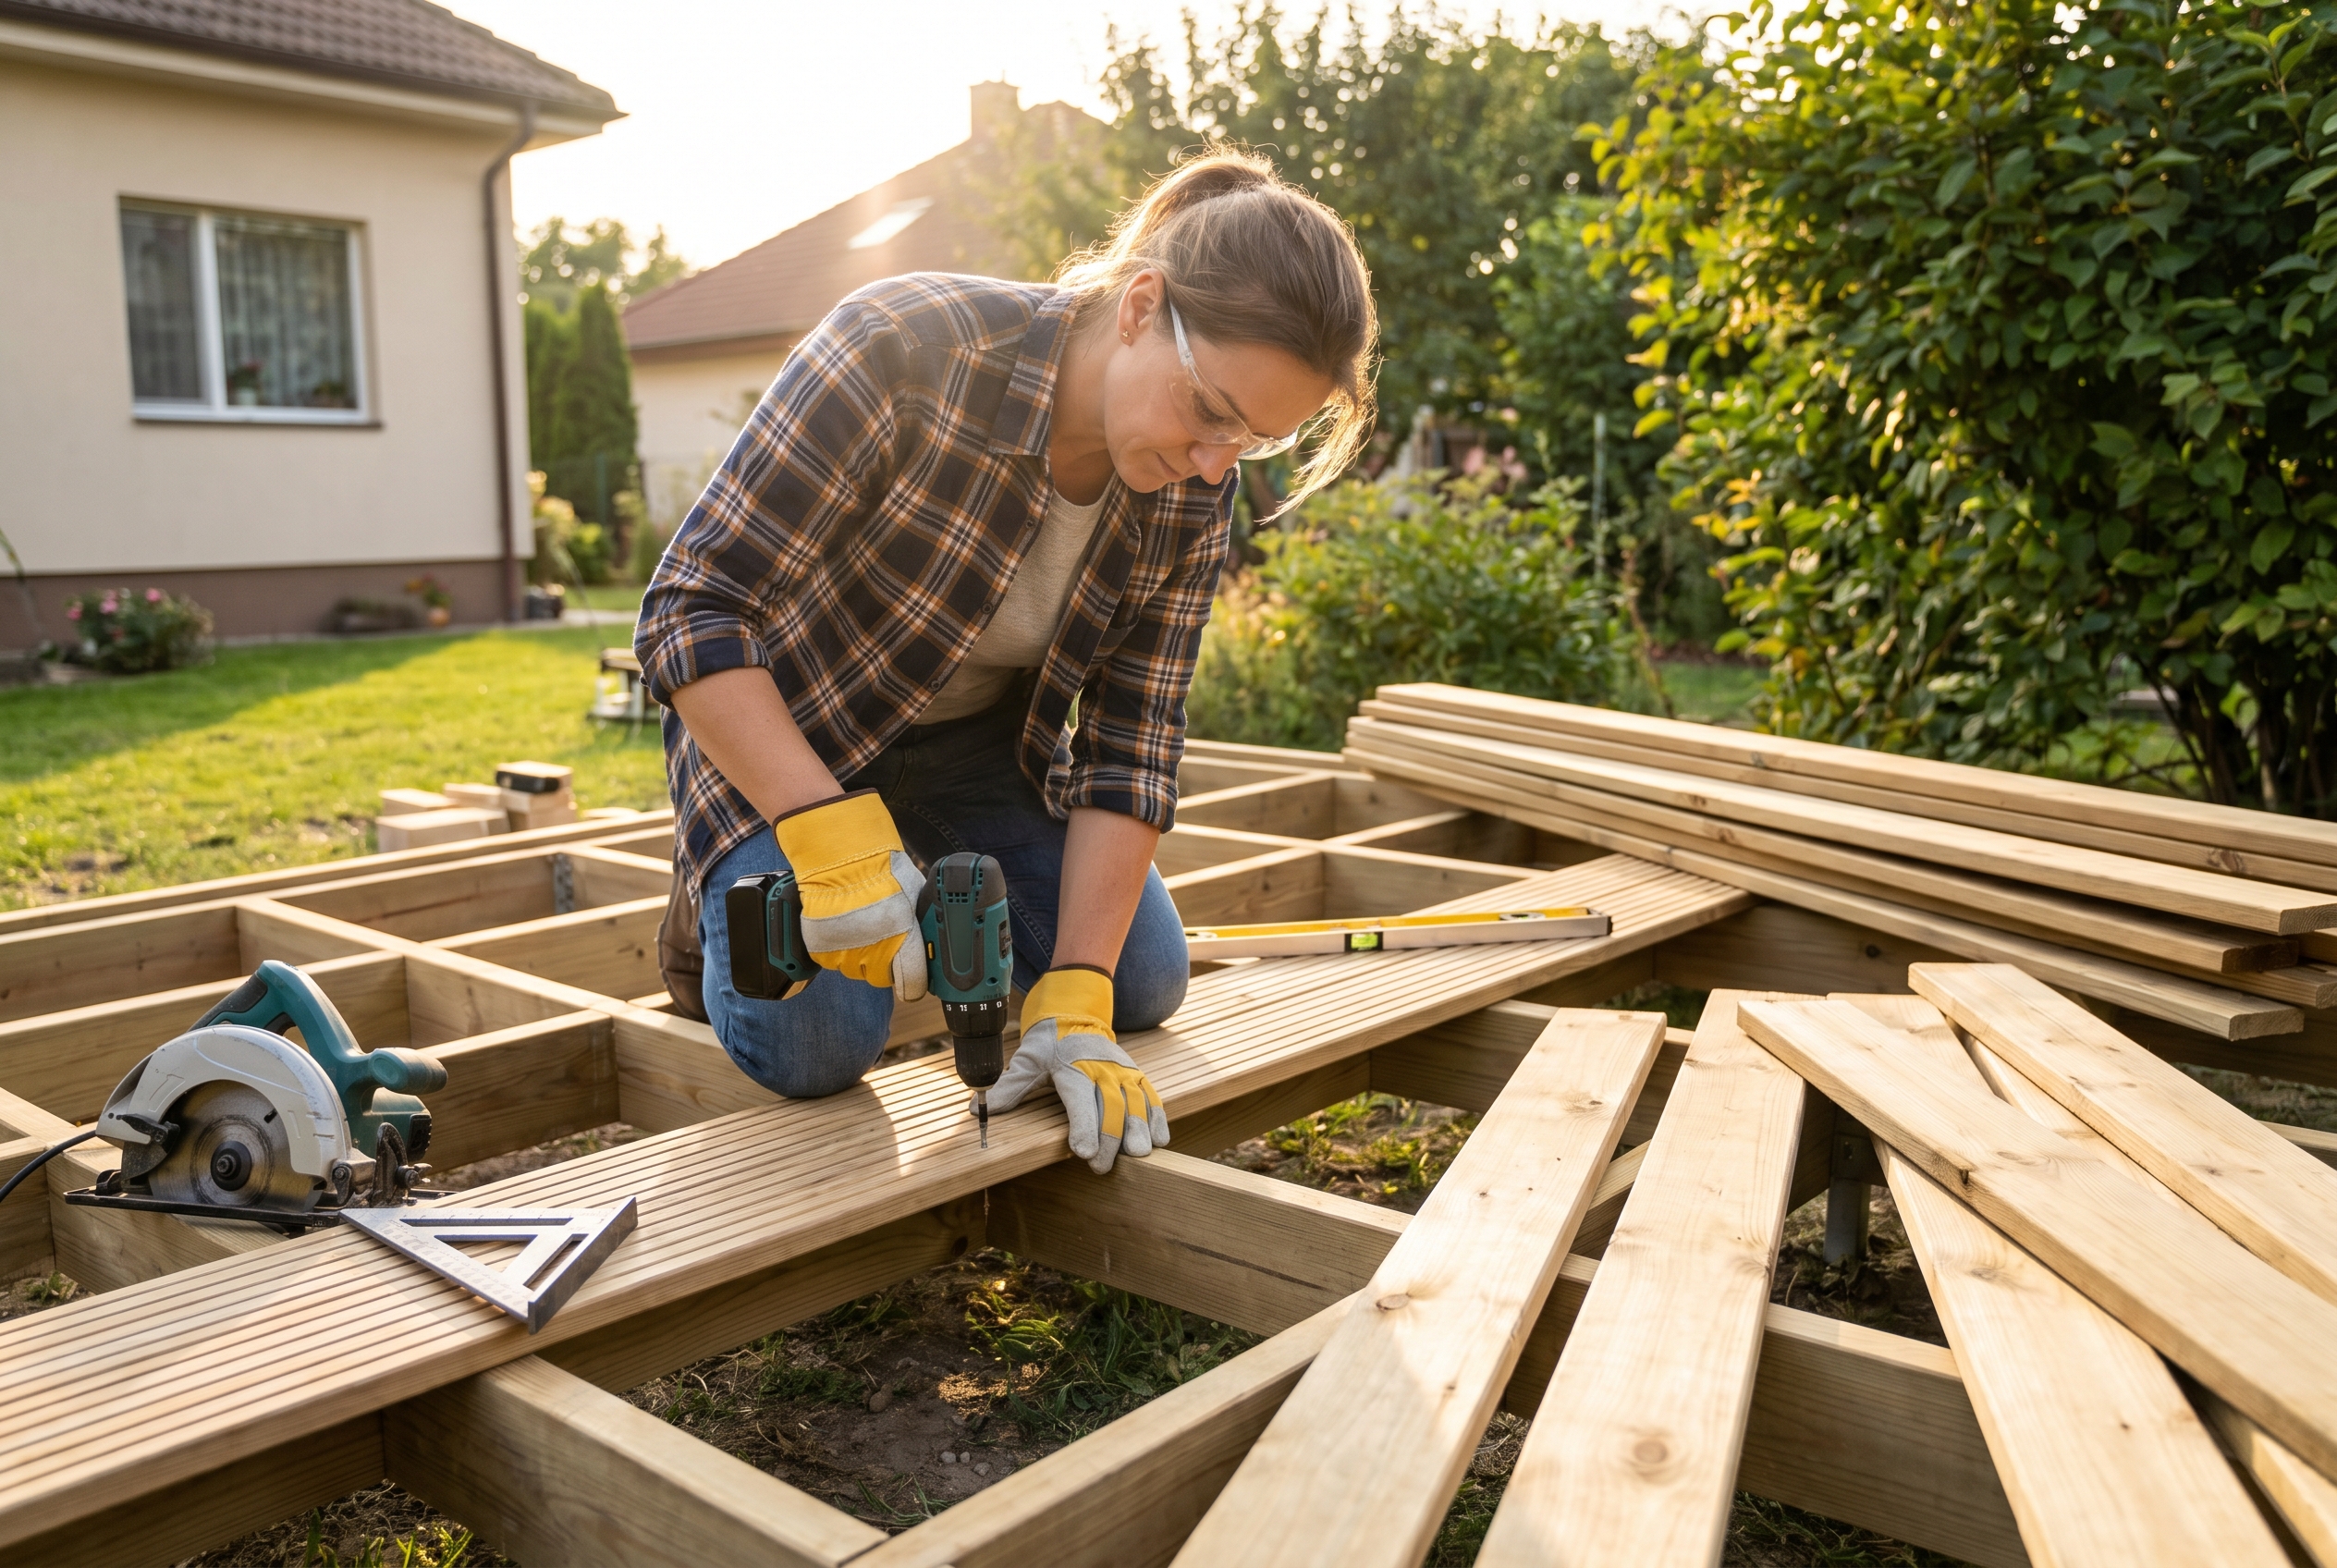
How to Build a Deck: Complete Step-by-Step Guide
Complete deck building guide with planning, construction, and finishing tips
How to Build a Deck: Complete Step-by-Step Guide
Building a deck is one of the most rewarding home improvement projects you can undertake. Not only does it increase your living space and home value, but it also creates the perfect outdoor oasis for entertaining, relaxing, and enjoying nature. With proper planning and execution, you can build a deck that will last for decades.
Before You Begin: Planning and Permits
Local Regulations - CRITICAL FIRST STEP:
- Check building codes - every city has different requirements
- Get permits - most decks require permits
- HOA approval - if you have a homeowners association
- Utility location - call 811 before digging
- Setback requirements - minimum distances from property lines
Deck Design Considerations:
- Size and shape - consider your space and needs
- Height and access - how high off ground, stairs or ramp?
- Materials - wood, composite, vinyl - each has pros and cons
- Features - built-in seating, planters, lighting, railing
- Drainage - proper slope away from house
Budget Breakdown:
| Component | Cost Range | Notes |
|---|---|---|
| Materials | $3,000-8,000 | Wood, composite, fasteners |
| Permits | $100-500 | Varies by location |
| Labor (if hiring) | $2,000-7,000 | Professional installation |
| Finishing | $500-2,000 | Stain, seal, railings |
Step 1: Site Preparation and Layout
Clear and Level the Area:
- Remove vegetation and debris from the build area
- Mark the deck perimeter using stakes and string lines
- Check for level - ensure proper drainage away from house
- Compact soil if needed, consider adding gravel base
Building the Foundation:
- Concrete footings: Most common and durable option
- Deck blocks: Easier for small, ground-level decks
- Concrete piers: Good for sloped terrain
- Post anchors: Essential for connecting posts to footings
Important: Footings must extend below frost line in cold climates
Step 2: Frame Construction
Materials for Framing:
- Pressure-treated lumber: For ground contact and framing
- Joist hangers: For secure joist connections
- Lag screws and bolts: For structural connections
- Concrete nails: For securing posts
Building the Frame:
- Install posts using concrete footings
- Install beams on top of posts
- Install joists perpendicular to beams
- Add blocking between joists for stability
- Install rim joist around perimeter
Framing Tips:
- Use pressure-treated lumber for all ground contact
- Space joists properly (typically 16" on center)
- Install ledger board securely to house with proper flashing
- Ensure proper slope (1/8" per foot away from house)
- Use galvanized or stainless steel hardware for longevity
Step 3: Decking Installation
Decking Material Options:
| Material | Cost | Maintenance | Lifespan | Pros/Cons |
|---|---|---|---|---|
| Pressure-treated pine | $ | High | 10-15 yrs | Affordable, needs regular sealing |
| Cedar/redwood | $$ | Medium | 15-25 yrs | Natural beauty, rot resistant |
| Composite | $$$ | Low | 25-30 yrs | Low maintenance, expensive |
| PVC/Vinyl | $$$$ | Very Low | 30+ yrs | Most durable, most expensive |
Installing Decking:
- Start from house and work outward
- Leave expansion gaps (1/8" between boards)
- Use proper fasteners - hidden clips or screws
- Maintain consistent spacing throughout
- Cut boards to fit at edges
- Add fascia board around perimeter for clean look
Decking Tips:
- Acclimate lumber before installing if possible
- Pre-drill holes near ends to prevent splitting
- Use corrosion-resistant fasteners
- Leave adequate gaps for drainage and expansion
- Consider hidden fasteners for cleaner appearance
Step 4: Railings and Stairs
Railing Options:
- Wood railings: Traditional, can be customized
- Glass panel railings: Modern, unobstructed views
- Metal railings: Contemporary, durable
- Composite railings: Low maintenance, matches decking
Building Stairs:
- Calculate rise and run - comfortable steps have 7-8" rise, 10-11" run
- Build stringers - typically 2x12 lumber cut to pattern
- Install treads - usually 2x material
- Add railings for safety
- Install landing at top and bottom if needed
Safety Requirements:
- Railing height: 36" minimum from deck surface
- Baluster spacing: Maximum 4" apart
- Stair width: Minimum 36" wide
- Handrail: Required on stairs with 4+ risers
Step 5: Finishing and Details
Sealing and Staining:
- Clean deck surface thoroughly
- Apply appropriate sealer/stain for your material
- Follow manufacturer instructions for application
- Apply multiple coats if recommended
- Let dry completely before use
Adding Finishing Touches:
- Built-in seating: Benches with storage underneath
- Planters: Integrated into railing or frame
- Lighting: Post caps, step lighting, or string lights
- Privacy screens: lattice or panels
- Outdoor furniture: Consider space needed
Step 6: Final Inspection and Maintenance
Final Checklist:
- Check all connections are secure
- Test railings for stability
- Verify drainage is working properly
- Clean up construction debris
- Enjoy your new deck!
Annual Maintenance:
- Inspect for damage - loose boards, railings, posts
- Clean deck as needed
- Reapply sealer/stain every 2-3 years
- Check for rot or insect damage
- Tighten hardware as needed
Cost Comparison
| Option | Cost | Time | Skill Level |
|---|---|---|---|
| DIY Build | $3,000-8,000 | 1-3 weeks | Advanced |
| Professional Build | $8,000-15,000 | 1-2 weeks | None |
| Pre-fabricated Kit | $2,000-5,000 | 1-2 days | Intermediate |
Safety First - Critical Considerations
During Construction:
- Wear proper PPE - gloves, safety glasses, hearing protection
- Use stable ladders - never overreach
- Have helper for heavy materials
- Follow electrical safety if working near power lines
- Check weather forecast - don’t work in rain or high wind
For Finished Deck:
- Weight limits - don’t exceed structural capacity
- Regular inspections - catch problems early
- Proper drainage - prevent water damage
- Clear snow/ice - prevent slip hazards
- Secure furniture - prevent wind damage
When to Hire a Professional
Consider hiring a professional if:
- You’re not comfortable with structural work
- Local building codes are complex
- The deck is high off the ground
- You don’t have the proper tools
- You want to ensure structural integrity
Pro Tips for Success
What the Pros Do:
- Check local codes thoroughly before starting
- Use quality materials - cheap materials fail quickly
- Plan for drainage - water is the enemy
- Use proper fasteners - corrosion-resistant and appropriate length
- Leave expansion gaps - wood moves with temperature/humidity
Common Mistakes to Avoid:
- Not getting permits - can cause big problems later
- Using wrong materials for ground contact
- Improper drainage - leads to rot and decay
- Skipping flashing - causes water damage to house
- Overbuilding without engineering - can be unsafe
Final Thoughts
Building a deck is a significant project that can transform your outdoor living space and increase your home’s value. With careful planning, proper materials, and attention to detail, you can create a beautiful, functional deck that will provide years of enjoyment.
Remember that deck building is structural work - safety is paramount. If you’re not comfortable with any aspect of the construction, don’t hesitate to hire a professional for that part of the project.
The result? An outdoor space where you can relax, entertain, and create lasting memories with family and friends. It’s worth the effort!
Ready to start your deck project? Check out our other DIY home improvement guides or ask questions in our community forum!