Basic Home Solar Panel Setup: Beginner's Guide
A beginner-friendly guide to planning and setting up a basic small-scale home solar system
Basic Home Solar Panel Setup: Beginner’s Guide
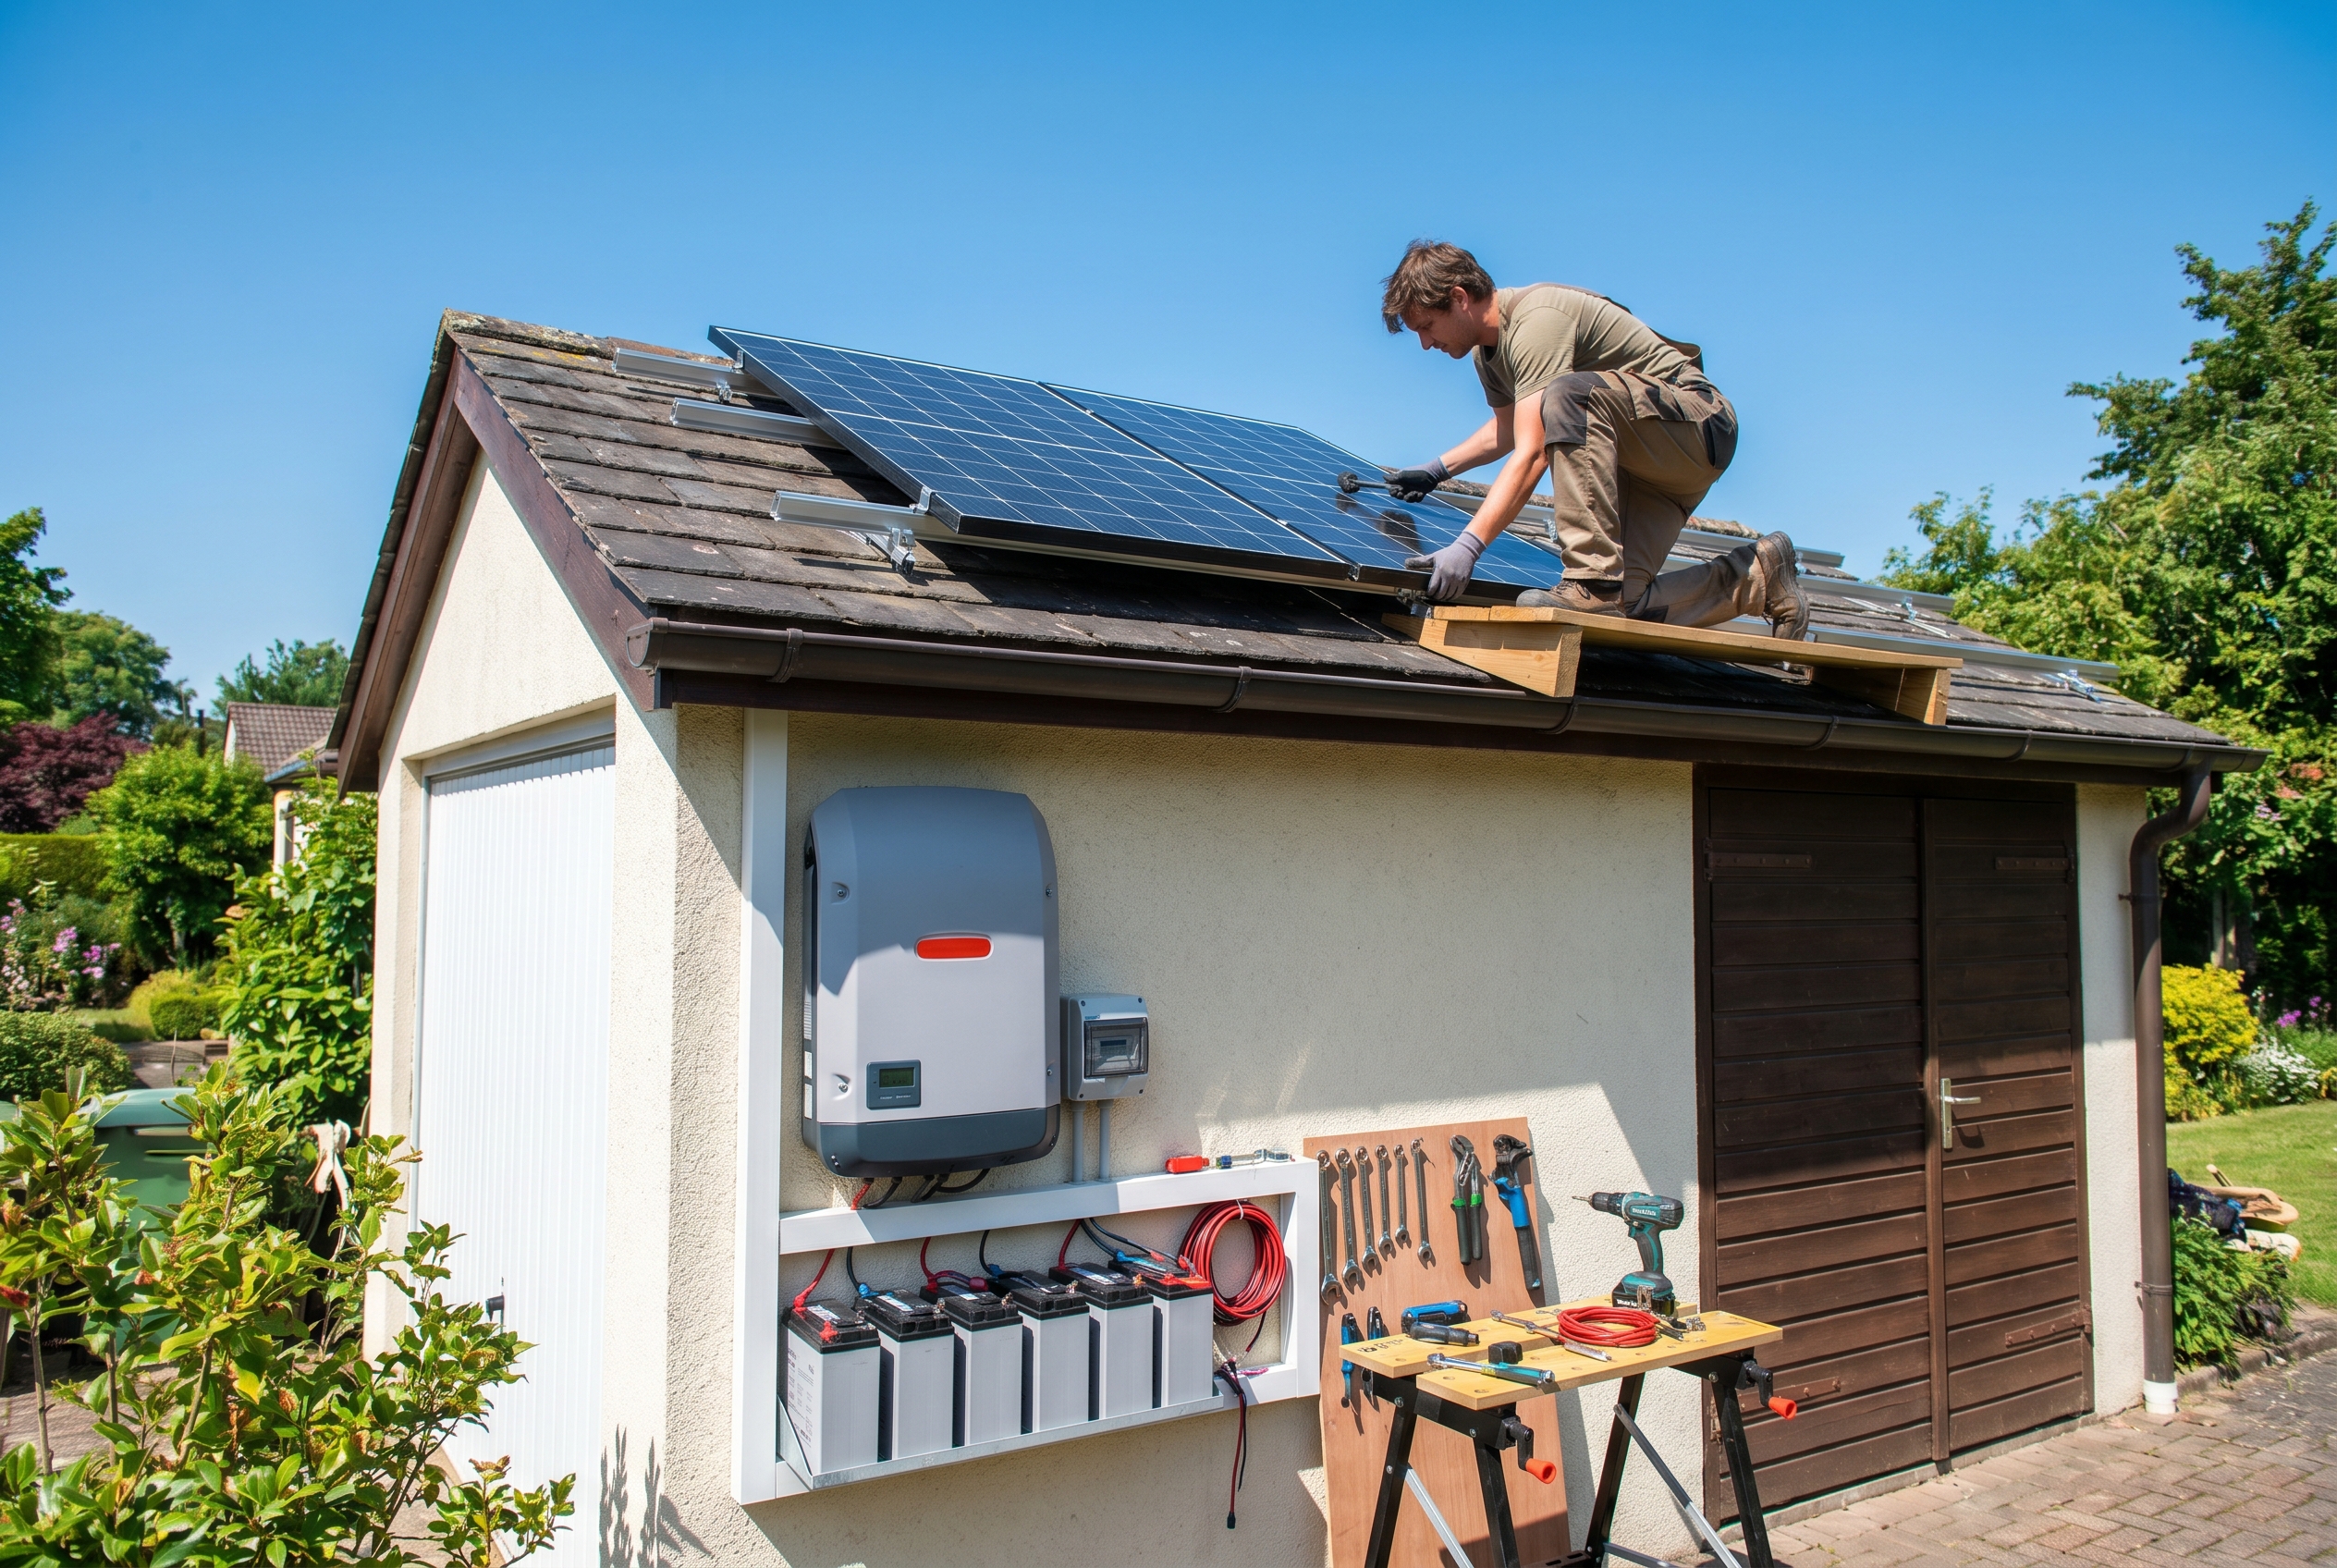
A small home solar setup can be a smart way to power a shed, garage workspace, emergency battery bank, or a few essential household circuits. It is also a good entry point before committing to a full roof-mounted system. This guide focuses on a basic, beginner-friendly setup using a modest panel array, charge controller, battery storage, and inverter.
Start with the Right Expectations
This is not a full-grid replacement guide. For most homeowners, a first solar project is better sized for:
- Backup lighting and device charging
- Garage, shed, or workshop power
- Small appliance support
- Learning the core components before scaling up
If you want to tie directly into your home’s electrical panel or utility meter, that usually requires permits, inspections, and licensed electricians.
Core Components of a Basic System
You Will Typically Need
- Solar panels to collect sunlight
- Mounting hardware for roof, ground, or rack installation
- Charge controller to regulate battery charging
- Battery or battery bank for stored power
- Inverter to convert DC power to AC for standard outlets
- Disconnects, fuses, and appropriately sized wire for safety
Example Starter System
A common beginner setup might include:
- 2 to 4 solar panels totaling 400 to 800 watts
- MPPT charge controller matched to panel voltage and current
- One lithium battery in the 12V or 24V range
- Pure sine wave inverter sized for your intended loads
Step 1: Estimate Your Power Needs
Before buying equipment, calculate what you want to run.
Simple Load Planning
List each device and estimate:
- Watts used while running
- Hours used per day
- Daily watt-hours needed
Example:
- LED lights: 40W x 4 hours = 160Wh
- Laptop charging: 60W x 2 hours = 120Wh
- Router or small fan: 50W x 4 hours = 200Wh
That sample load is 480Wh per day, which helps size the battery and solar array.
Step 2: Choose the Best Panel Location
A solar system only performs as well as its exposure.
Look for:
- South-facing exposure in most US locations
- Minimal shading from trees, chimneys, or nearby buildings
- Strong structural support for roof-mounted systems
- Easy cable routing to your controller and battery bank
Ground Mount vs Roof Mount
- Ground mount is easier for DIY access and maintenance
- Roof mount saves space but is harder and riskier to install
For beginners, a small rack or ground-mounted setup is often the safest path.
Step 3: Mount the Panels Securely
- Assemble the mounting rack per manufacturer instructions.
- Set the tilt angle appropriate for your region if adjustable.
- Attach panels firmly with approved clamps or brackets.
- Leave airflow space beneath panels to reduce heat buildup.
- Confirm the structure can handle wind loads.
Never improvise panel mounting with random hardware or unapproved roof penetrations.
Step 4: Wire Panels to the Charge Controller
- Verify the panel wiring configuration series, parallel, or mixed.
- Use manufacturer specs to stay within the controller’s voltage and amperage limits.
- Install inline fuses or breakers where required.
- Run outdoor-rated solar cable and protect it from abrasion.
- Connect panels to the charge controller only in the recommended sequence.
Safety Note
Many charge controller manuals require connecting the battery first before connecting solar input. Follow the exact sequence from your hardware documentation.
Step 5: Connect the Battery Bank
- Place the battery in a dry, ventilated location.
- Use correctly sized battery cables.
- Install a fuse near the battery positive terminal.
- Connect battery leads to the charge controller.
- Confirm battery chemistry settings lithium, AGM, or other match the actual battery.
Improper battery setup is one of the fastest ways to damage an otherwise good system.
Step 6: Add the Inverter
- Choose an inverter sized above your expected load.
- Mount it near the battery bank with required clearance for ventilation.
- Connect DC cables with the correct polarity.
- Install the recommended fuse or breaker.
- Plug in a small test load first before connecting more equipment.
Pure sine wave inverters are usually worth the extra cost for electronics and motor-driven tools.
Step 7: Test the System
Run a careful commissioning check.
Test Checklist
- Check open-circuit panel voltage if you know how to use a multimeter.
- Confirm the charge controller sees the battery correctly.
- Verify solar charging begins in sunlight.
- Turn on the inverter and plug in a small device.
- Monitor battery voltage and controller readings for the first few hours.
Basic Safety Rules
- Disconnect power before reworking wiring
- Use proper fusing and cable sizing
- Keep water away from electrical components
- Do not exceed controller or inverter ratings
- Follow local code and permit rules
Cost Breakdown
| Item | Cost Range | Notes |
|---|---|---|
| Solar panels | $200-600 | Depends on wattage and brand |
| Charge controller | $80-250 | MPPT units cost more but perform better |
| Battery | $150-1,000 | Lithium usually costs more up front |
| Inverter | $100-400 | Pure sine wave recommended |
| Mounting, wire, fuses | $80-250 | Do not skip protection hardware |
| Total DIY cost | $500-2,500 | Typical range for a modest starter setup |
Common Mistakes to Avoid
- Buying components before calculating loads
- Installing panels where afternoon shade kills output
- Undersizing wire or skipping fuses
- Mismatching controller settings to battery chemistry
- Treating a grid-tied project like a simple DIY weekend job
When to Call a Pro
You should involve a licensed solar installer or electrician if:
- You want to connect directly to your home’s main electrical service
- Roof penetrations or structural questions are involved
- Permit or inspection requirements are unclear
- You are not fully confident in DC electrical work
Final Thoughts
A basic home solar setup is a great bridge between curiosity and real energy independence. Start small, size the system around actual loads, and focus on safe wiring and durable mounting. A well-planned starter system can power useful loads now and teach you exactly what you would want from a bigger solar investment later.
Interested in more practical upgrades? Explore our energy, outdoor, and home systems tutorials for projects that balance savings, resilience, and DIY confidence.