How to Fix a Leaky Outdoor Faucet (Hose Bib) — Step-by-Step Guide
Learn how to fix the four most common types of outdoor faucet leaks, what tools you need, and when to call a plumber instead.
The short answer
Most leaky outdoor faucets — also called hose bibs or sillcocks — can be fixed with a $5 washer kit and a few basic tools. The repair depends on where the water is coming out: from the handle, from the spout when the faucet is off, or from the pipe where it enters the house. Each has a different cause and a different fix, and all three are well within reach of a confident DIYer.
Why outdoor faucets fail
Outdoor faucets take more abuse than any other fixture in your house. They freeze, bake in direct sun, get yanked by garden hoses, and sit unused for months at a time. The rubber washers and O-rings inside dry out, crack, or get crushed by mineral deposits. A faucet that drips steadily can waste hundreds of gallons over a single summer — and a leak that runs behind the siding or into the foundation can cause real structural damage before you notice it.
What you need before you start
- Adjustable wrench or a pair of channel-lock pliers
- Flathead and Phillips screwdrivers
- A replacement washer kit or O-ring assortment ($5–$10 at any hardware store)
- Plumber’s tape (PTFE tape)
- Silicone faucet grease (optional but recommended)
- A bucket and towel for drips
- A hose bib socket wrench (for frost-free models — about $12)
Critical safety step: Locate the shutoff valve for the outdoor faucet before you start. It is usually in the basement, crawlspace, or utility room, on a pipe that runs toward the exterior wall. Turn it off and open the outdoor faucet to drain any remaining water. If you cannot find the shutoff, you may need to shut off water to the whole house.
Diagnose the leak in 30 seconds
| Where the water comes out | Likely cause |
|---|---|
| Drips from the spout when faucet is off | Worn washer or bad valve seat |
| Leaks from around the handle when on | Worn packing nut or O-ring |
| Water seeps from behind the faucet where it meets the wall | Loose connection or cracked pipe |
| Faucet won’t shut off completely | Mineral buildup or damaged seat |
Fix 1: Replace the washer (spout drip)
This is the most common outdoor faucet repair. If water drips from the spout when the faucet is turned off, the rubber washer at the end of the stem has worn out.
- Shut off the water at the indoor shutoff valve. Open the outdoor faucet to drain it.
- Remove the handle. Most handles are held on by a small set screw under a decorative cap. Pry the cap off with a flathead screwdriver, then remove the screw and pull the handle straight off.
- Unscrew the packing nut. Use an adjustable wrench to loosen the large hex nut behind the handle. This exposes the faucet stem.
- Pull the stem assembly out. Twist and pull — it may be stiff from mineral deposits. If it does not budge, spray penetrating oil around the nut and wait five minutes.
- Remove the old washer from the end of the stem. It is usually held by a single brass screw. Note the size and shape — most outdoor faucets use a flat rubber washer, but some use a beveled or tapered one.
- Install the new washer and tighten the screw firmly but do not overtighten or you will strip the brass threads.
- Reassemble in reverse order. Apply a thin layer of silicone grease to the stem before sliding it back in. Tighten the packing nut snug — hand-tight plus a quarter turn with a wrench is usually enough.
- Turn the water back on and test. If it still drips, the valve seat inside the faucet body may be pitted or corroded (see Fix 3).
Common mistake: Using a washer that is slightly too large. It will bind when you close the faucet and make the handle hard to turn. Match the old washer exactly.
Fix 2: Replace the packing or O-ring (handle leak)
If water seeps out around the handle when the faucet is on, the packing material or O-ring inside the packing nut has failed.
- Follow steps 1–4 from Fix 1 to remove the stem.
- Look for an O-ring on the stem just below the threads. If it is cracked, flattened, or missing, replace it with an identical size from your O-ring assortment.
- If there is no O-ring, the faucet uses string packing. Remove the old packing material from inside the packing nut and replace it with new plumber’s packing string, wrapping it clockwise around the stem.
- Alternative: Wrap the stem threads with three layers of PTFE tape before reassembly. This is a quick fix that works for minor seepage.
- Reassemble and test.
Pro tip: If the handle itself is cracked or the splines are stripped, you can buy a universal replacement handle for under $8. Take the old one to the hardware store to match the spline pattern.
Fix 3: Dress or replace the valve seat
If a new washer does not stop the drip, the brass seat inside the faucet body is probably pitted or corroded. Water sneaks past the washer through these imperfections.
- Remove the stem as described above.
- Use a seat-dressing tool — a small metal tool that fits into the faucet body and grinds the seat smooth. Insert it, turn it a few rotations, and wipe out the brass shavings.
- If the seat is too damaged to dress, you need a seat replacement tool to unscrew the old seat and install a new one. These are specific to your faucet brand.
- Reinstall the stem with a new washer and test.
When to skip this: If the faucet body itself is corroded, cracked, or more than 15 years old, replace the entire faucet rather than chasing individual parts.
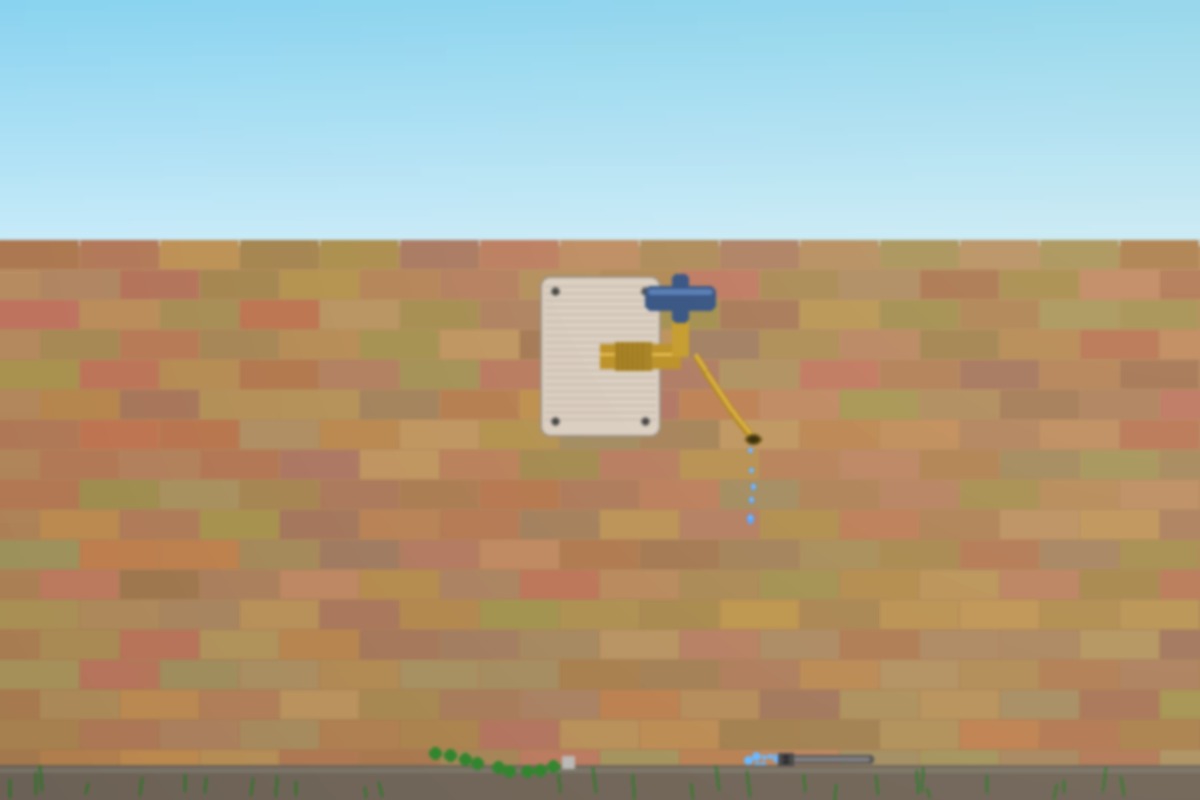
Fix 4: Replace a frost-free hose bib
If your outdoor faucet is a frost-free model (the handle turns and you hear water running inside the wall before it comes out the spout), the repair is different. The washer and seal are at the end of a long brass rod that extends into the heated part of your house.
- Shut off the water and drain the line.
- Measure the length of the faucet body from the handle to the threaded end inside the house. Frost-free bibs come in standard lengths: 4, 6, 8, 10, and 12 inches.
- Unscrew the faucet from inside the house using a hose bib socket wrench or a long adjustable wrench. The threaded connection is on the interior side of the wall.
- Install the new faucet by threading it into the same fitting. Apply PTFE tape to the threads. Tighten firmly but do not overtighten — brass fittings can crack.
- Secure the exterior flange to the siding with the included screws.
- Turn the water on and test from inside before closing up the access panel.
Important: Frost-free faucets must be installed with a slight downward slope toward the outside so water drains completely when shut off. If the pipe slopes the wrong way, water will pool inside and freeze regardless of the faucet design.
When to call a plumber
Stop and call a pro if:
- Water is leaking from behind the faucet where it enters the wall — this usually means a cracked pipe or failed solder joint inside the wall cavity
- The faucet body is visibly cracked or corroded and you cannot find the indoor shutoff valve
- The pipe is frozen and you cannot get water to flow at all — do not apply direct heat to a frozen outdoor faucet
- You need to replace the faucet but the pipe is copper and requires soldering
- The leak is inside an finished basement wall and you cannot access the pipe without cutting drywall
A plumber typically charges $150 to $350 to replace an outdoor faucet, including the service call.
How to prevent future leaks
- Disconnect garden hoses before the first freeze. A hose left attached traps water in the faucet, which expands when frozen and cracks the pipe inside the wall.
- Install a frost-proof sillcock if you live in a climate that sees freezing temperatures. These cost $20–$40 and pay for themselves the first time they prevent a burst pipe.
- Replace rubber washers every two years as preventive maintenance. They cost pennies and take ten minutes.
- Use a vacuum breaker (also called a backflow preventer) on the faucet. It prevents contaminated water from being sucked back into your home’s drinking water supply and also protects the faucet threads from damage.
- Close the indoor shutoff valve in winter and open the outdoor faucet to drain it, even if you have a frost-free model.
Related pages to help you finish the job
- How to Fix a Leaky Faucet Step by Step
- How to Fix Peeling Caulk Around a Bathtub or Shower
- Signs a Small Water Leak Is Turning Into Wall Damage
- How to Reseal Drafty Windows Without Replacing Them
- Spring Home Maintenance Checklist for First-Time Owners
Frequently asked questions
Why is my outdoor faucet leaking from the handle?
The packing nut or O-ring inside the handle assembly has worn out. This is a $5 fix — replace the O-ring or wrap the stem with plumber’s tape before tightening the packing nut.
How do I fix a hose bib that drips when the hose is attached?
A drip only when a hose is connected usually means the hose washer (the small rubber gasket inside the hose end) is worn. Replace it for under $1. If the faucet itself drips with no hose attached, replace the internal washer.
Can I replace an outdoor faucet myself?
Yes, if you can access the pipe connection from inside the house and the pipe is threaded (not soldered). Frost-free models require measuring the length and buying the correct replacement. Soldered copper connections are best left to a plumber.
What causes an outdoor spigot to leak in winter?
Water left in the pipe expands when it freezes and cracks the faucet body or the pipe behind it. This is why you must disconnect hoses and drain outdoor faucets before the first freeze.
When should I call a plumber for an outdoor faucet leak?
Call a plumber if water is leaking from behind the faucet into the wall, if the pipe is frozen solid, if you cannot find the indoor shutoff valve, or if the faucet body is cracked and requires soldering to replace.