
How to Fix a Garage Door That Won't Close — Sensor Alignment, Track Issues, and Noisy Opener Fixes
Learn how to fix the most common garage door problems yourself — aligning safety sensors, lubricating the track, tightening loose hardware, and knowing when the torsion spring needs a pro.
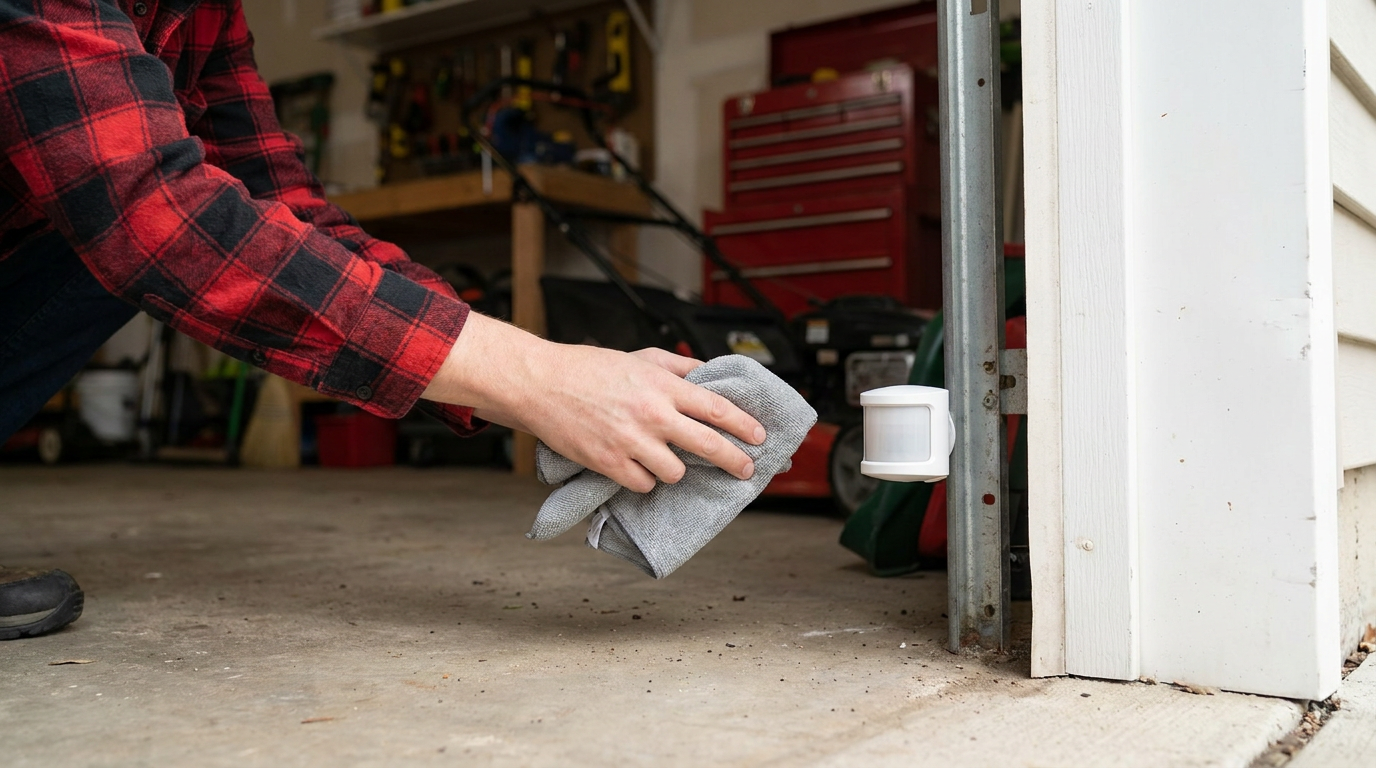
Few things are more frustrating than your garage door refusing to close when you’re already late, or blinking its lights at you without explanation. The good news is that most garage door problems are caused by one of five things — and four of them are fixable in under 20 minutes with basic tools.
This guide walks you through the most common garage door failures, from sensor alignment to track obstructions, so you can get your door working reliably again without an expensive service call.
Why Your Garage Door Won’t Close
Modern garage door openers have multiple safety features designed to prevent the door from closing if something is in the way. When the door starts to close but immediately reverses, or blinks its lights without moving at all, the safety system is detecting a problem.
Here are the most common culprits:
| Symptom | Most Likely Cause | Difficulty |
|---|---|---|
| Door reverses immediately after starting to close | Misaligned or dirty safety sensors | Beginner |
| Door won’t move, opener just clicks | Dead or failing backup battery (or motor issue) | Beginner |
| Lights blink but door doesn’t move | Safety sensor communication failure | Beginner |
| Door is noisy and jerky on the way down | Dry or dirty track rollers | Beginner |
| Door opens but won’t stay down without holding the button | Obstruction in the track or sensor beam | Beginner |
| Door slams down hard | Broken or loose springs — call a pro immediately | Danger |
Safety First — Before You Do Anything
Before working on your garage door:
- Disconnect the opener by pulling the emergency release cord (usually a red handle hanging from the opener rail). This lets you operate the door manually.
- Unplug the opener from the ceiling outlet so it can’t accidentally engage while you’re inspecting components.
- Keep the remote and wall button out of reach while working around the sensors.
Step 1: Clean and Align the Safety Sensors
Safety sensors — the small plastic eyes mounted on each side of the door track about 6 inches off the ground — are the most common reason a garage door refuses to close. They send an invisible infrared beam across the door opening. If the beam is broken (or the sensors can’t see each other), the door won’t close.
Clean the Sensor Lenses
Dirt, cobwebs, and dust are the #1 sensor killer. A sensor covered in garage grime can’t see its partner on the other side.
- Locate the two sensors — one on each side of the door, facing each other.
- Wipe each lens gently with a soft, dry cloth. If they’re grimy, use a slightly damp cloth with a drop of dish soap, then dry thoroughly.
- Check for spiderwebs or debris between or in front of the sensors.
- Test the door. If it closes now, you’re done.
Align the Sensors
If cleaning didn’t fix it, one sensor is likely pointed away from the other.
- Loosen the wing nuts or screws holding each sensor to the track bracket — just enough so they can be rotated by hand.
- Look at the indicator lights on each sensor. Most models have a small LED:
- Solid green or steady light = sensors see each other (aligned)
- Blinking or off = misaligned or obstructed
- Adjust one sensor at a time. Slowly rotate it until the LED turns solid. Then adjust the other sensor until both LEDs are solid.
- Tighten the wing nuts gently — don’t overtighten, which can knock them out of alignment again.
- Test the door with the wall button.
Step 2: Check for Track Obstructions
Sometimes the fix is simpler than you think. Walk the full length of both tracks and look for:
- A stick, toy, or tool that fell into the track
- A bent or crushed track section (from bumping it with a car or equipment)
- Rollers that have popped out of the track
- A loose track bracket or mounting bolt
If you find debris: Remove it, then test the door manually by pulling the emergency release and lifting the door about halfway. It should move smoothly with moderate effort.
If a roller has popped out: You may be able to guide it back in by gently prying the track open with a screwdriver at the spot where it popped out. This is easier with two people — one to hold the door steady, one to guide the roller.
If the track is bent: A minor bend can sometimes be tapped back into shape with a rubber mallet. Significant damage or crushed sections usually require a track replacement, which is a job for a pro.
Step 3: Lubricate the Moving Parts
A noisy, jerky, or sluggish garage door is almost always a lubrication problem. Do not use WD-40 as a lubricant — it’s a solvent, not a grease, and will wash away existing lubrication, making the problem worse.
What to Lubricate
| Part | Lubricant Type | Frequency |
|---|---|---|
| Rollers (hinge pins) | Silicone spray or lithium grease | Twice per year |
| Hinges between door panels | Silicone spray | Twice per year |
| Springs (only the outside — never the torsion spring windings) | Light oil (garage door-specific) | Once per year |
| Opener chain or screw drive | Grease specific to your opener brand | Per manufacturer manual |
| Weatherstripping | Silicone spray (light coating) | Once per year |
What NOT to lubricate:
- The track itself (rollers need to grip the track — greasing it creates friction problems and collects dirt)
- The torsion spring coils (these need a specific oil, not spray lubricant)
- Plastic or nylon rollers (they’re self-lubricating)
How to Lubricate
- Open the door fully so you can reach all the hinge points.
- Spray a small amount of lubricant onto each roller hinge pin (where the roller meets the bracket).
- Open and close the door a few times to work the lubricant in.
- Wipe away any excess with a rag so it doesn’t attract dust.
Step 4: Tighten Loose Hardware
Garage doors vibrate every time they open and close. Over time, bolts and brackets work loose. A loose bracket or bolt can cause the door to bind, make noise, or even derail a roller.
- Examine every bracket, bolt, and hinge on the door and track.
- Tighten anything that feels loose with a socket wrench or screwdriver.
- Don’t overtighten — door panels need to flex slightly during operation. Snug is sufficient.
Step 5: Test and Reconnect the Opener
Once you’ve cleaned the sensors, cleared any obstructions, lubricated the hardware, and tightened loose bolts:
- Test the door manually (with the emergency release pulled) — it should move smoothly through a full open-and-close cycle with moderate effort. If it’s hard to lift or sticky at any point, you have a track or roller issue.
- Reconnect the opener by pulling the emergency release cord toward the opener (some models require you to manually pull the cord toward the door to re-engage).
- Plug the opener back in.
- Test from the wall button, then from the remote.
When to Call a Pro
Some garage door problems are beyond a weekend DIY fix. Call a garage door technician if:
- The torsion spring is broken (you’ll see a visible gap in the spring, or the door is very heavy to lift)
- The cables are frayed or snapped (these are under tension and dangerous)
- The opener motor is dead (no lights, no sound, no response) — replacement is often cheaper than repair
- The door is off its tracks and won’t re-seat — you need a pro to remove, inspect, and reinstall
- The door slams shut or won’t stay up — the springs need professional adjustment
- There’s structural damage to the door panels or frame
Quick Troubleshooting Reference
| Problem | What to Check | Fix |
|---|---|---|
| Door won’t close, blinks lights | Safety sensor alignment or dirt | Clean and realign sensors |
| Door reverses immediately | Sensor beam blocked or misaligned | Clear beam path, adjust sensors |
| Door is noisy | Dry rollers or hinges | Lubricate with silicone spray |
| Opener clicks but doesn’t move | Backup battery dead or motor seized | Replace battery or call a pro |
| Door is hard to lift manually | Sticky rollers, bent track, or bad springs | Lubricate rollers; check track; call a pro for springs |
| Door won’t stay open | Broken spring or cable | Call a pro immediately |
| Remote doesn’t work | Dead battery in remote, or opener lost programming | Replace remote battery, reprogram per manual |
A Maintenance Schedule That Prevents Problems
A well-maintained garage door lasts 20–30 years. Here’s a simple annual routine:
- Monthly: Wipe sensor lenses with a dry cloth. Test the auto-reverse safety feature (place a 2×4 board on the floor under the door — it should reverse when it hits the board).
- Every 6 months: Lubricate rollers, hinges, and the opener chain/screw drive.
- Every year: Check and tighten all hardware. Inspect cables and springs visually for wear.
- Every 2 years: Test the backup battery in the opener (if equipped). Replace if weak.
Most garage door emergencies happen because of simple sensor misalignment or dirt buildup. With ten minutes, a dry cloth, and a can of silicone spray, you can solve 80% of garage door problems yourself and keep your door operating safely for years.